DTF (Direct to Film) printing has transformed how we create custom apparel, but like any printing method, it comes with its own set of challenges. Whether you're running a print shop or just getting started with DTF transfers, knowing how to diagnose and fix common problems will save you time, money, and frustration.
This guide covers the most frequent DTF transfer issues and provides clear, actionable solutions. From adhesion problems to color inconsistencies, we'll help you identify what's going wrong and how to fix it quickly.
How DTF Transfers Work
DTF printing creates transfers by printing designs onto special films, applying adhesive powder while the ink is wet, then curing the powder with heat. When you press these transfers onto fabric, the adhesive melts and bonds the design to the garment.
This process offers several advantages over traditional methods:
- Works on various fabric types and colors
- Produces detailed, full-color designs
- No minimum order quantities required
- Suitable for both light and dark garments
However, the multi-step process means there are several points where things can go wrong.
Most Common DTF Transfer Problems
1. Transfers Won't Stick Properly
Symptoms:
- Edges lifting after pressing
- Design peeling off during wash
- Partial adhesion across the transfer
- Corners coming up immediately after pressing
Primary Causes and Solutions:
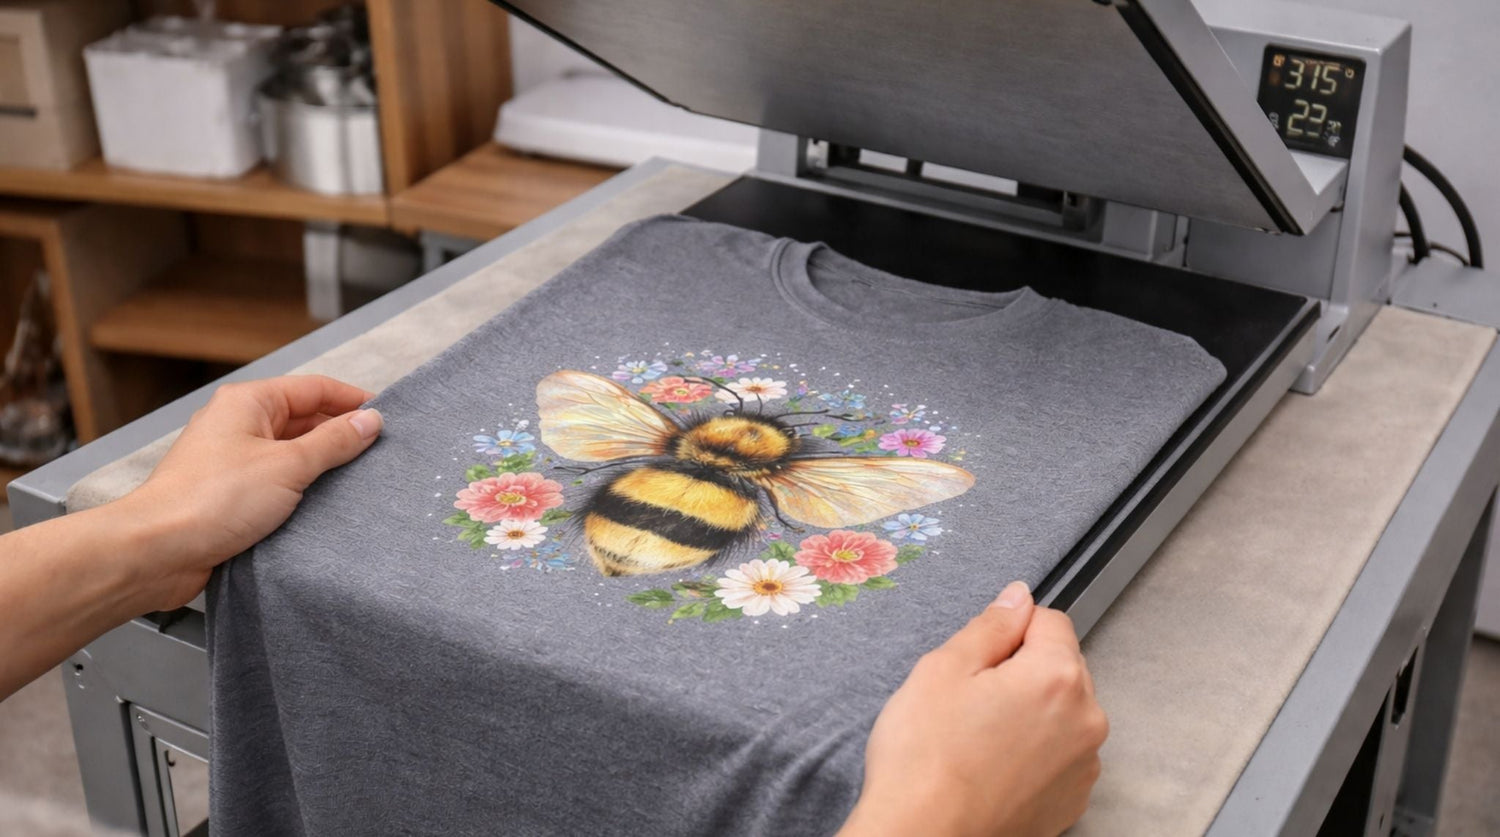
Incorrect Temperature
- Check your heat press temperature against transfer specifications
- Most DTF transfers need 300-320°F (149-160°C)
- Use an infrared thermometer to verify actual platen temperature
- Allow adequate warm-up time for even heat distribution
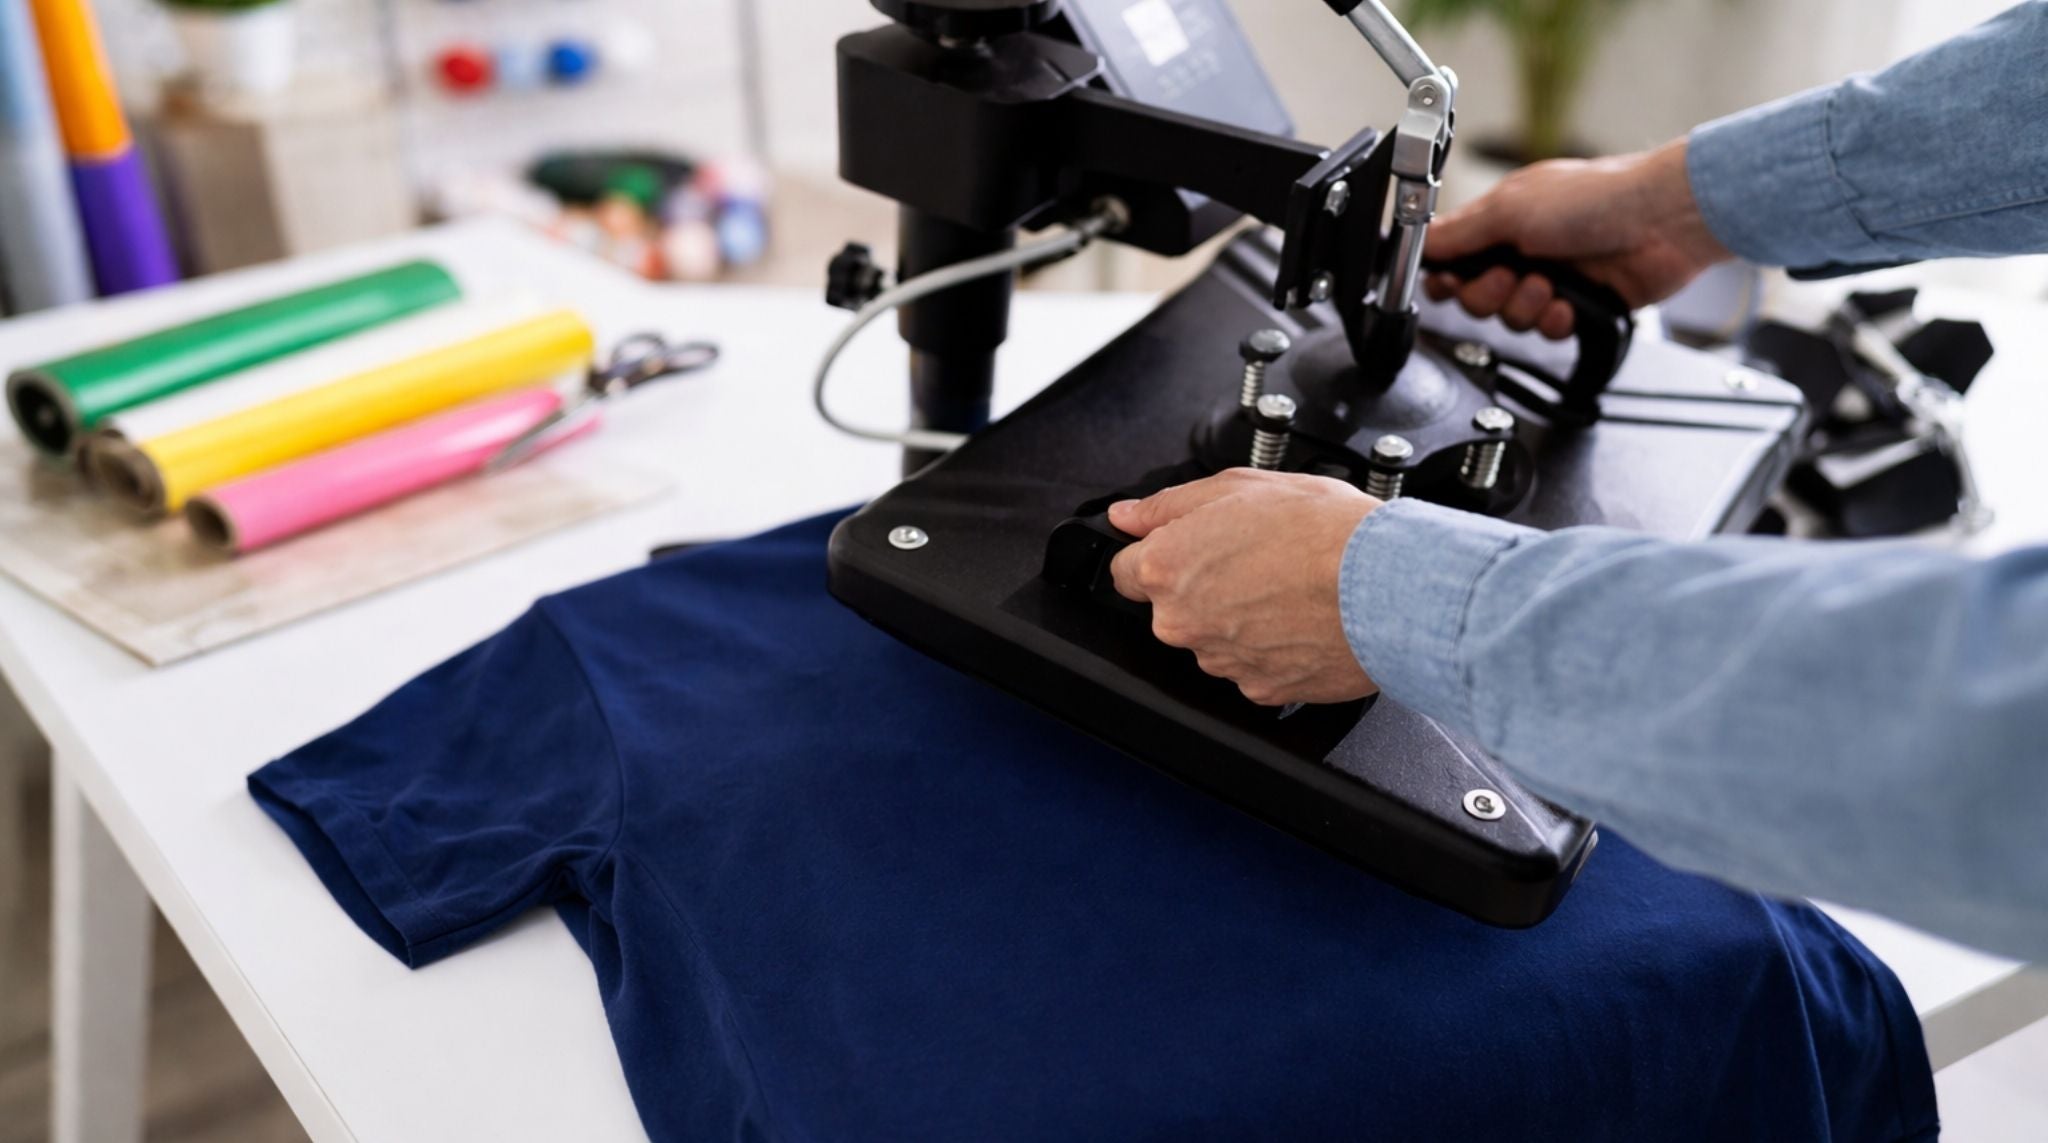
Insufficient Pressure
- Increase pressure gradually until you achieve full contact
- Ensure pressure is even across the entire transfer area
- Check for warped or uneven heat press platens
- Consider the garment thickness when setting pressure
Wrong Press Time
- Follow manufacturer's recommended press times (usually 10-15 seconds)
- Extend time slightly for thicker fabrics
- Reduce time for delicate materials to prevent scorching
Fabric Preparation Issues
- Pre-press garments to remove moisture and wrinkles
- Clean lint and debris from fabric surface
- Avoid fabric softeners which can create barriers to adhesion
2. Washed-Out or Faded Colors
Symptoms:
- Colors appear lighter than expected
- Design lacks vibrancy
- Overall print looks dull or muted
Root Causes and Fixes:
Printer Settings Problems
- Increase ink density in your RIP software
- Check that you're using the correct print profile
- Verify printer heads are clean and functioning properly
- Ensure adequate ink coverage for solid areas
Film Quality Issues
- Use high-quality DTF films designed for vibrant color reproduction
- Store films properly to prevent degradation
- Check expiration dates on older film stock
Curing Problems
- Ensure powder is fully melted during curing process
- Check curing oven temperature and time settings
- Look for even powder distribution across the design
3. Blurry or Poor Image Quality
Symptoms:
- Text appears fuzzy or unclear
- Fine details are lost or merged together
- Overall design lacks sharpness
Common Causes and Solutions:
Low Image Resolution
- Use images with at least 300 DPI for printing
- Vector graphics work best for text and simple designs
- Avoid enlarging low-resolution images beyond their limits
Printer Maintenance Issues
- Clean printer heads regularly
- Perform nozzle checks and head alignments
- Replace worn or damaged printer components
Film Movement During Printing
- Ensure film feeds smoothly through the printer
- Check for proper film tension and alignment
- Use quality films that don't stretch or distort
4. Color Differences from Screen to Print
Symptoms:
- Printed colors don't match what you see on screen
- Unexpected color shifts in final transfers
- Inconsistent colors between different print runs
Troubleshooting Steps:
Monitor and Printer Calibration
- Calibrate your monitor regularly using proper tools
- Use ICC color profiles specific to your printer and inks
- Print color swatches to verify actual output colors
Lighting Conditions
- View printed transfers under proper lighting conditions
- Use daylight-balanced LED lights for color evaluation
- Avoid fluorescent lighting which can distort color perception
Ink and Media Matching
- Ensure inks and films are compatible
- Use recommended combinations from manufacturers
- Test new ink or film combinations before production runs
5. Powder Application Problems
Symptoms:
- Uneven powder coverage
- Powder not sticking to some areas
- Excess powder causing texture issues
Solutions:
Timing Issues
- Apply powder while ink is still wet but not oversaturated
- Work quickly after printing to maintain proper ink tackiness
- Adjust printer speed if ink is drying too fast
Powder Quality
- Use fresh powder that hasn't clumped or degraded
- Store powder in dry, sealed containers
- Sift powder regularly to maintain consistent particle size
Application Technique
- Apply powder evenly across the entire design
- Remove excess powder thoroughly before curing
- Use proper powder application tools and techniques
![]()
Systematic Troubleshooting Approach
Step 1: Identify the Problem Stage
Determine where in the process the issue occurs:
- Printing stage: Blurry images, color problems, ink issues
- Powder application: Coverage problems, adhesion issues
- Curing stage: Powder melting, transfer preparation
- Pressing stage: Bonding problems, temperature issues
- Post-press: Peeling, durability problems
Step 2: Check Environmental Factors
- Humidity: Keep workspace between 40-55% relative humidity
- Temperature: Maintain stable room temperature
- Cleanliness: Ensure dust-free environment for printing and pressing
Step 3: Verify Equipment Settings
- Double-check all temperature, pressure, and time settings
- Ensure equipment is properly calibrated
- Confirm you're using correct profiles and settings for your materials
Step 4: Test with Known Good Materials
- Use fresh, known-quality films and powders
- Test with simple designs to isolate variables
- Compare results with previous successful prints
Prevention Strategies
Regular Maintenance Schedule
Daily Tasks:
- Clean heat press platens
- Check printer head condition
- Verify equipment temperatures
Weekly Tasks:
- Deep clean printer heads
- Calibrate heat press if needed
- Inventory supplies and check for degradation
Monthly Tasks:
- Full printer maintenance and calibration
- Review and update color profiles
- Assess equipment performance trends
Quality Control Measures
- Document settings that produce good results
- Keep samples of successful prints for reference
- Track environmental conditions during production
- Maintain logs of any issues and solutions
Supplier Relationships
- Work with reputable suppliers for consistent material quality
- Test new materials thoroughly before committing to large orders
- Keep backup supplies from reliable sources
When to Seek Professional Help
Consider getting expert assistance when:
- Problems persist despite following troubleshooting steps
- Equipment needs specialized repair or calibration
- You're scaling up production and need process optimization
- New techniques or materials require specialized knowledge
Many DTF communities and forums offer valuable peer support and shared experiences that can help solve unique problems.
Advanced Tips for Consistent Results
Documentation and Record Keeping
- Maintain detailed records of successful settings for different materials
- Document any modifications or adjustments that improve results
- Track seasonal variations that might affect production
Continuous Learning
- Stay updated on new DTF technologies and techniques
- Participate in industry forums and training opportunities
- Experiment with new materials and methods in controlled tests
Investment in Quality
- Choose equipment and materials based on quality, not just price
- Invest in proper environmental controls for your workspace
- Consider professional training for complex troubleshooting
Conclusion
Successful DTF printing requires attention to detail at every step of the process. Most transfer problems can be solved by systematically checking equipment settings, material quality, and environmental factors.
Start with the most common causes when troubleshooting, and don't change multiple variables at once. Document what works, maintain your equipment properly, and invest in quality materials for the most consistent results.
Remember that every problem is a learning opportunity. The more you understand about how each factor affects your transfers, the better equipped you'll be to produce high-quality results consistently. With patience and systematic troubleshooting, you can overcome most DTF transfer challenges and achieve the professional results your customers expect.

Leave a comment
This site is protected by hCaptcha and the hCaptcha Privacy Policy and Terms of Service apply.