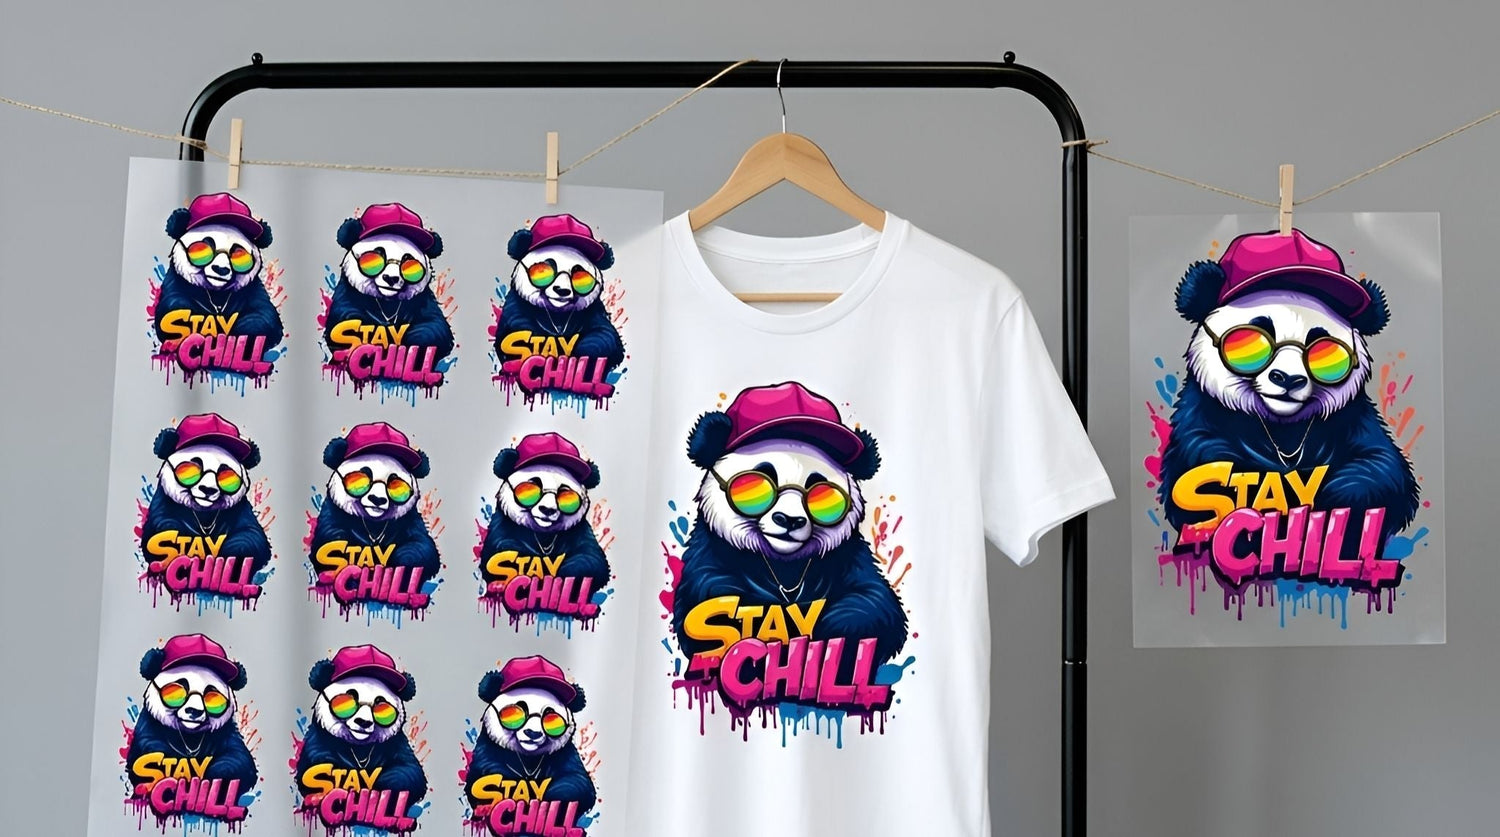
If you are using DTF (Direct-to-Film) gang sheets but aren’t thinking strategically about your layout, you are likely wasting film space—and shrinking your profit margins.
This guide is built for small apparel brands, Etsy sellers, and print shops who want to lower their cost per transfer, streamline production, and avoid expensive layout mistakes.
A gang sheet isn't just a large printable area; it is a profitability tool. The way you arrange your artwork directly impacts your cost per design, production speed, and workflow. Below, we walk you through layout strategy, spacing rules, nesting methods, and the simple math needed to make your DTF transfer sheets work in your favor.
Why Smart Layout Matters
When used correctly, gang sheets allow you to combine multiple designs onto a single sheet of film. This reduces waste and drastically lowers the cost per piece. However, simply "filling" a sheet isn't enough—you need to fill it intelligently.
By following this guide, you will learn how to:
- Choose the correct sheet size for your specific order.
- Group transfers by garment type to speed up production.
- Space designs properly to avoid cutting and pressing errors.
- Nest smaller graphics into unused areas to maximize value.
- Calculate your real cost per transfer before you upload.
Small adjustments in layout can increase your usable design yield by 10% to 20%, directly increasing your bottom line.
Step 1: Choose the Right Sheet Size
The most common mistake happens before the layout even begins. Many sellers default to the largest sheet size available because it feels "safer." In reality, paying for unused film space is just throwing money away.
Start by estimating your needs:
- Full Front Prints: Typically 10"–12" wide.
- Left Chest Logos: Typically 3"–4" wide.
- Sleeve Prints: Typically 2"–3" wide.
Sketch a rough grid. Estimate how many rows and columns will realistically fit. If you see wide, empty margins in your plan, consider downsizing the sheet or reorganizing your artwork. Remember: The goal isn’t the biggest sheet; it’s the highest density of usable transfers.

Step 2: Group Designs for Workflow Efficiency
Once you have selected the right size, organize your designs intentionally. Random placement creates chaos during the cutting and pressing phase.
Group artwork by function:
- Place all Full Front graphics together.
- Stack Left Chest logos in one clean section.
- Separate Youth sizes from Adult sizes.
- Keep Sleeve prints clustered.
This structure improves your speed at the heat press. When you are in the middle of a production run, you want to grab the next transfer instinctively without searching through a disorganized pile. Clean grouping prevents costly mistakes, such as pressing a youth logo on an adult shirt.
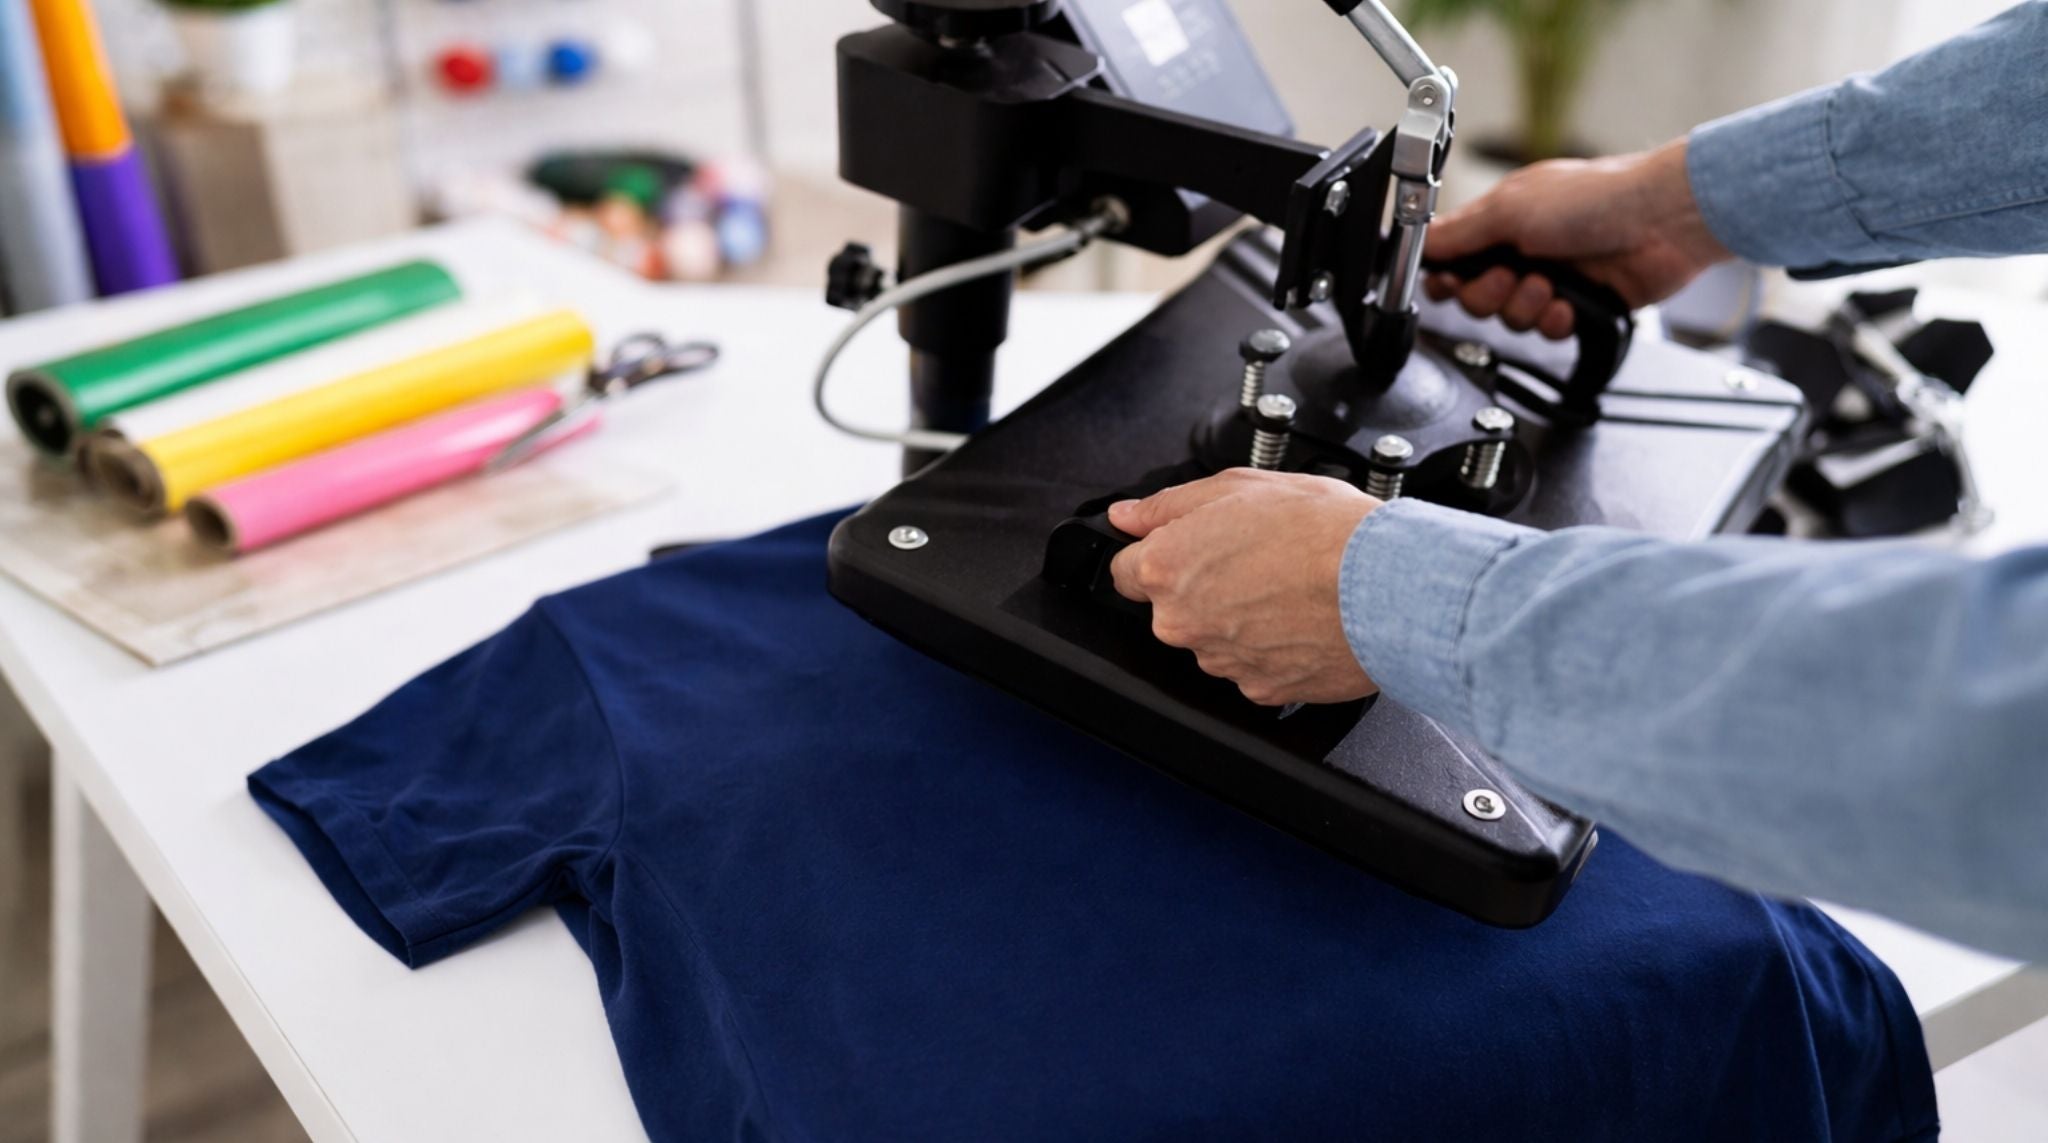
Step 3: Smart Spacing (Don't Ruin Your Cut!)
Many people try to pack designs as tightly as possible to save pennies, only to lose dollars in wasted time.
DTF transfers need space for comfortable trimming. If artwork edges touch or sit too close, cutting becomes a nightmare. This slows down production and increases the risk of accidentally slicing into a design.
Follow these spacing guidelines:
- Leave visible cutting room (at least 0.25" to 0.5") around each design.
- Avoid overlapping transparent edges or "glow" effects.
- Visualize how your scissors or rotary trimmer will move through the sheet.
Rule of Thumb: If it feels stressful to look at on the screen, it will be even more stressful to cut by hand.
Step 4: The "Tetris" Method (Nesting)
Nesting is where the serious profit gains happen. Instead of placing designs in rigid, straight rows, treat the sheet like a puzzle.
Look for awkward gaps between larger graphics. These "dead zones" are free real estate for smaller items like neck labels, sleeve prints, or bonus logo stickers.
Practical nesting examples:
- Place long, thin sleeve prints between two tall vertical designs.
- Tuck small chest logos into the corners of large irregular graphics.
- Rotate square designs 90 degrees if it allows for a better fit.
Don't rely on standard alignment. A "puzzle mindset" unlocks higher density without sacrificing usability.
Step 5: Run the Margin Math
Your layout isn't finished until you’ve calculated the cost. Before you hit upload, run these basic numbers:
- Total Sheet Cost
- Total Usable Designs on the Sheet
- Cost Per Individual Transfer
Example: If improving your layout allows you to fit 5 extra chest logos onto a $20 sheet, your cost per logo drops significantly. For small brands, this math confirms that your layout is truly optimized.
Step 6: Know When to Split Sheets
Sometimes, trying to force everything onto one giant sheet hurts your workflow more than it helps your wallet.
You should split your order into multiple sheets when:
- You have Rush Orders mixed with standard inventory stock.
- You are printing for drastically different garment types (e.g., separating cotton formulations from polyester).
- You are testing new designs alongside proven best-sellers.
Two organized sheets often outperform one chaotic sheet. Production speed matters just as much as film efficiency.
Common Layout Mistakes to Avoid
- Ignoring Final Garment Placement: A design might look great on a monitor but feel huge on a Small shirt. Always verify dimensions against the physical garment.
- Uploading Low-Resolution Artwork: DTF picks up every detail. If your art is pixelated before printing, it will look pixelated on the shirt. 300 DPI is the standard.
- Overfilling the Sheet: If cutting requires surgical precision, your layout is too tight. Prioritize usability.
- Forgetting Production Order: Layout should match your pressing order. If you press chest logos first, group them at the top.
- Skipping the Final Check: Zoom out to 100%. Imagine yourself cutting and pressing each piece. If you see friction in the design phase, you will feel it in the production phase.
Final Thoughts: Optimize First, Order Second
DTF printing gives small brands incredible flexibility, and gang sheets multiply that power. By choosing the correct size, grouping intentionally, nesting intelligently, and respecting spacing, you gain total control over your profitability.
The difference between an average gang sheet and a profitable one isn't creativity—it’s deliberate planning. Use this guide as a checklist for your next order, and watch your margins grow.***

Leave a comment
This site is protected by hCaptcha and the hCaptcha Privacy Policy and Terms of Service apply.