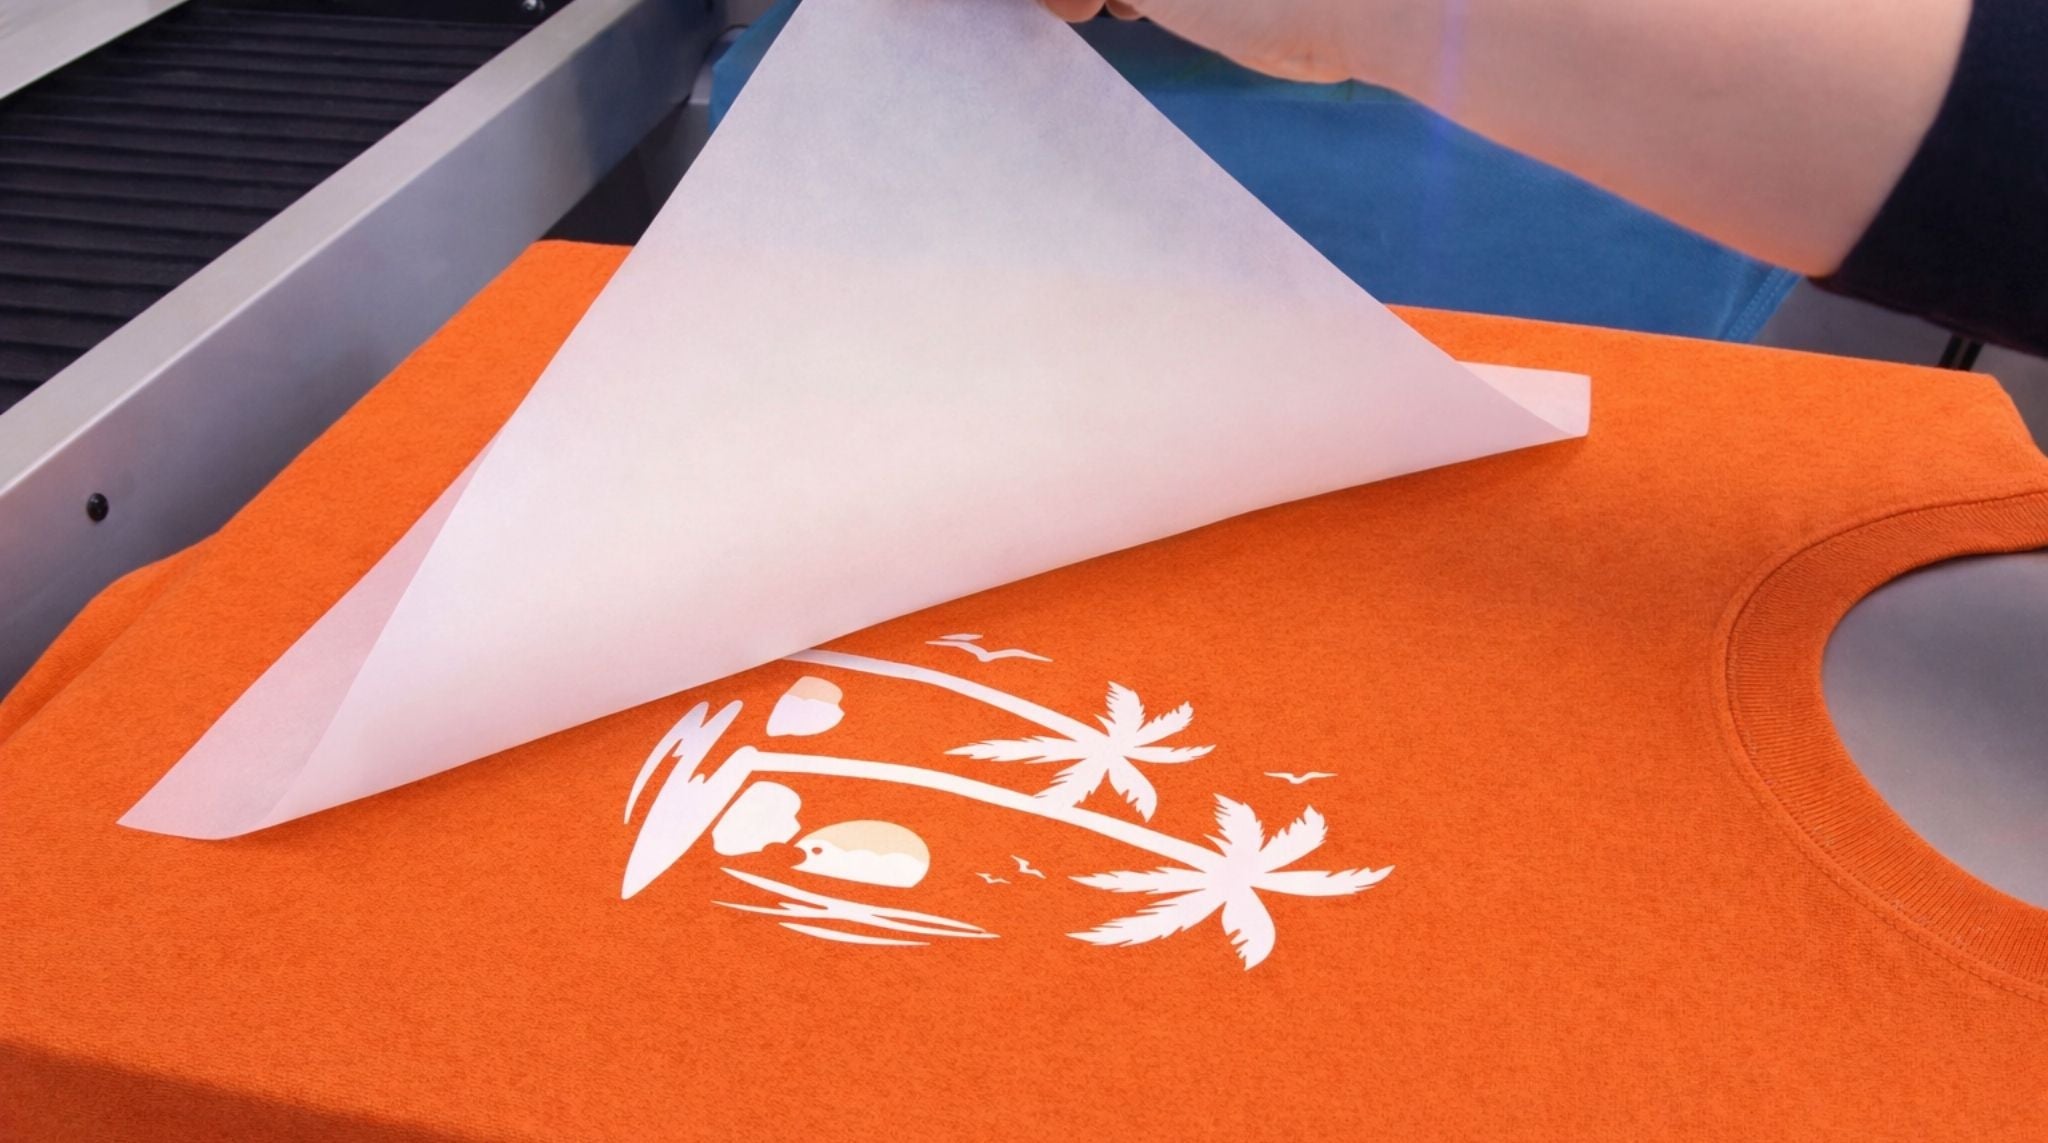
If you have spent any time pressing DTF (Direct-to-Film) transfers, you have probably had this moment: The heat press opens, the film peels cleanly, the ink sticks perfectly... yet something feels wrong.
The design looks awkward on the shirt. It feels too loud, too small, or just strangely placed. Nothing technically failed during the application, but the finished garment does not look the way you imagined.
In most cases, the issue is not pressure, temperature, or film quality. It is one of several common DTF transfer sizing mistakes that happen long before the heat press is ever turned on. These mistakes waste transfers, force expensive reorders, and quietly eat into margins for small apparel brands, print shops, and Etsy sellers.
This guide focuses on diagnosing those mistakes. Instead of repeating generic size charts, we will break down why sizing goes wrong, what it looks like on real garments, and how to avoid ordering the wrong DTF transfer size in the first place.
Why Do Sizing Mistakes Happen So Often?
Ordering DTF transfers feels simple: Upload artwork, pick dimensions, place the order, and press. That simplicity is exactly what makes sizing mistakes so common.
Screens are flat; garments are not. Shirts taper, hoodies drape, and fabric weight changes how a design visually fills space once worn.
Another factor is speed. Many orders are placed quickly, especially for repeat designs or rush jobs. Sizing becomes a habit instead of a decision. People reuse the same dimensions across different garments or choose a size that feels "safe" rather than correct.
The result is predictable:
- Transfers that technically fit but look unbalanced.
- Prints that dominate smaller sizes and disappear on larger ones.
- Designs that look "cheap" because the placement feels accidental.
These aren't press problems—they are sizing decisions made without enough context.
![]()
Mistake #1: Ordering "Just in Case" (Going Too Big)
This is one of the most common and costly errors. The logic seems reasonable: "If the transfer is slightly larger, it will still work across more sizes."
In practice, this often creates a design that is too big for most garments. Oversized transfers tend to push too close to side seams (the "armpit zone"), sit uncomfortably high or low, and overwhelm the shirt’s natural proportions. What looks fine on a digital mockup often feels aggressive on an actual Medium or Large shirt.
How to avoid it: Size for the most common garment in your order (usually a Medium or Large), not the largest available size (2XL/3XL). If a design needs different sizing for different garments, treat it as a deliberate sizing decision, not a compromise.
Mistake #2: Using the Same Size for Shirts and Hoodies
A T-shirt and a hoodie might share the same "chest width" on a size chart, but visually they behave very differently.
Hoodies have thicker fabric, heavier weight, and a looser drape. This often makes a transfer that looks perfect on a T-shirt feel too small on a hoodie. In mixed orders, this mistake is glaring: The shirt looks balanced, but the hoodie looks empty.
How to avoid it: Adjust sizing by garment type.
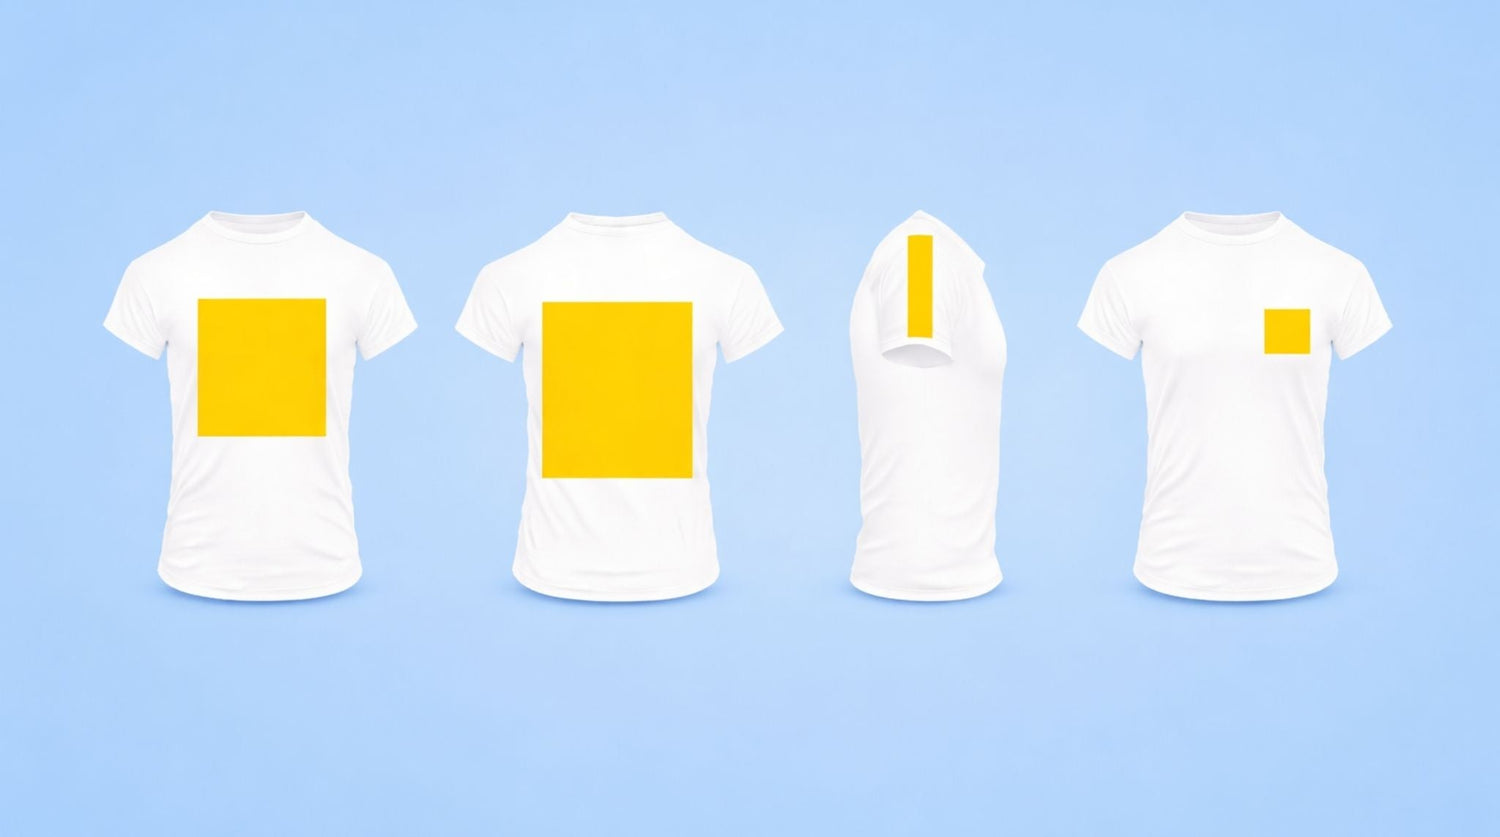
- Full Front Prints: Often need to be 1–1.5 inches wider on hoodies compared to T-shirts.
- Left Chest Prints: May need minimal adjustment, but always verify placement against the pocket area or zipper line.
Mistake #3: Guessing Left Chest Logo Size
Left chest logos are small, which makes them deceptive. Being off by just half an inch can shift the entire visual balance of the shirt.
- A logo that is too large creeps toward the center of the chest.
- A logo that is too small looks accidental rather than intentional.
Many sizing issues here come from guessing based on memory or screen previews instead of checking a physical garment.
How to avoid it: Measure an actual shirt. Check the distance from the collar and the side seam. Visual balance matters more than hitting a specific numeric dimension (e.g., "always make it 3.5 inches").
Mistake #4: Going Too Small on Full Front Prints
While some people oversize transfers, others undersize them out of caution. This happens frequently with full front designs. The result is a print that technically fits but looks "lost" on the garment.
Full front DTF sizing should feel deliberate. A bold design that only occupies the center 8 inches of the chest often looks unfinished, especially on adult sizes.
How to avoid it: Step back and evaluate the design’s intent. If the artwork is meant to command attention, allow it to fill the appropriate space (typically 10"–12" wide for adults) without crowding the seams.
Mistake #5: Resizing Low-Resolution Artwork
Not all sizing mistakes are purely dimensional. Some begin with file quality.
When you take a small, low-resolution image and stretch it to a large transfer size, you may reach the desired dimensions, but you sacrifice edge clarity and detail. The transfer may be the "right size," but it looks soft, blurry, or pixelated once pressed. That is still a sizing mistake because the chosen dimensions exceeded what the artwork could support.
How to avoid it: Resize artwork before uploading. Always confirm that the resolution (aim for 300 DPI) supports the final dimensions you intend to print.
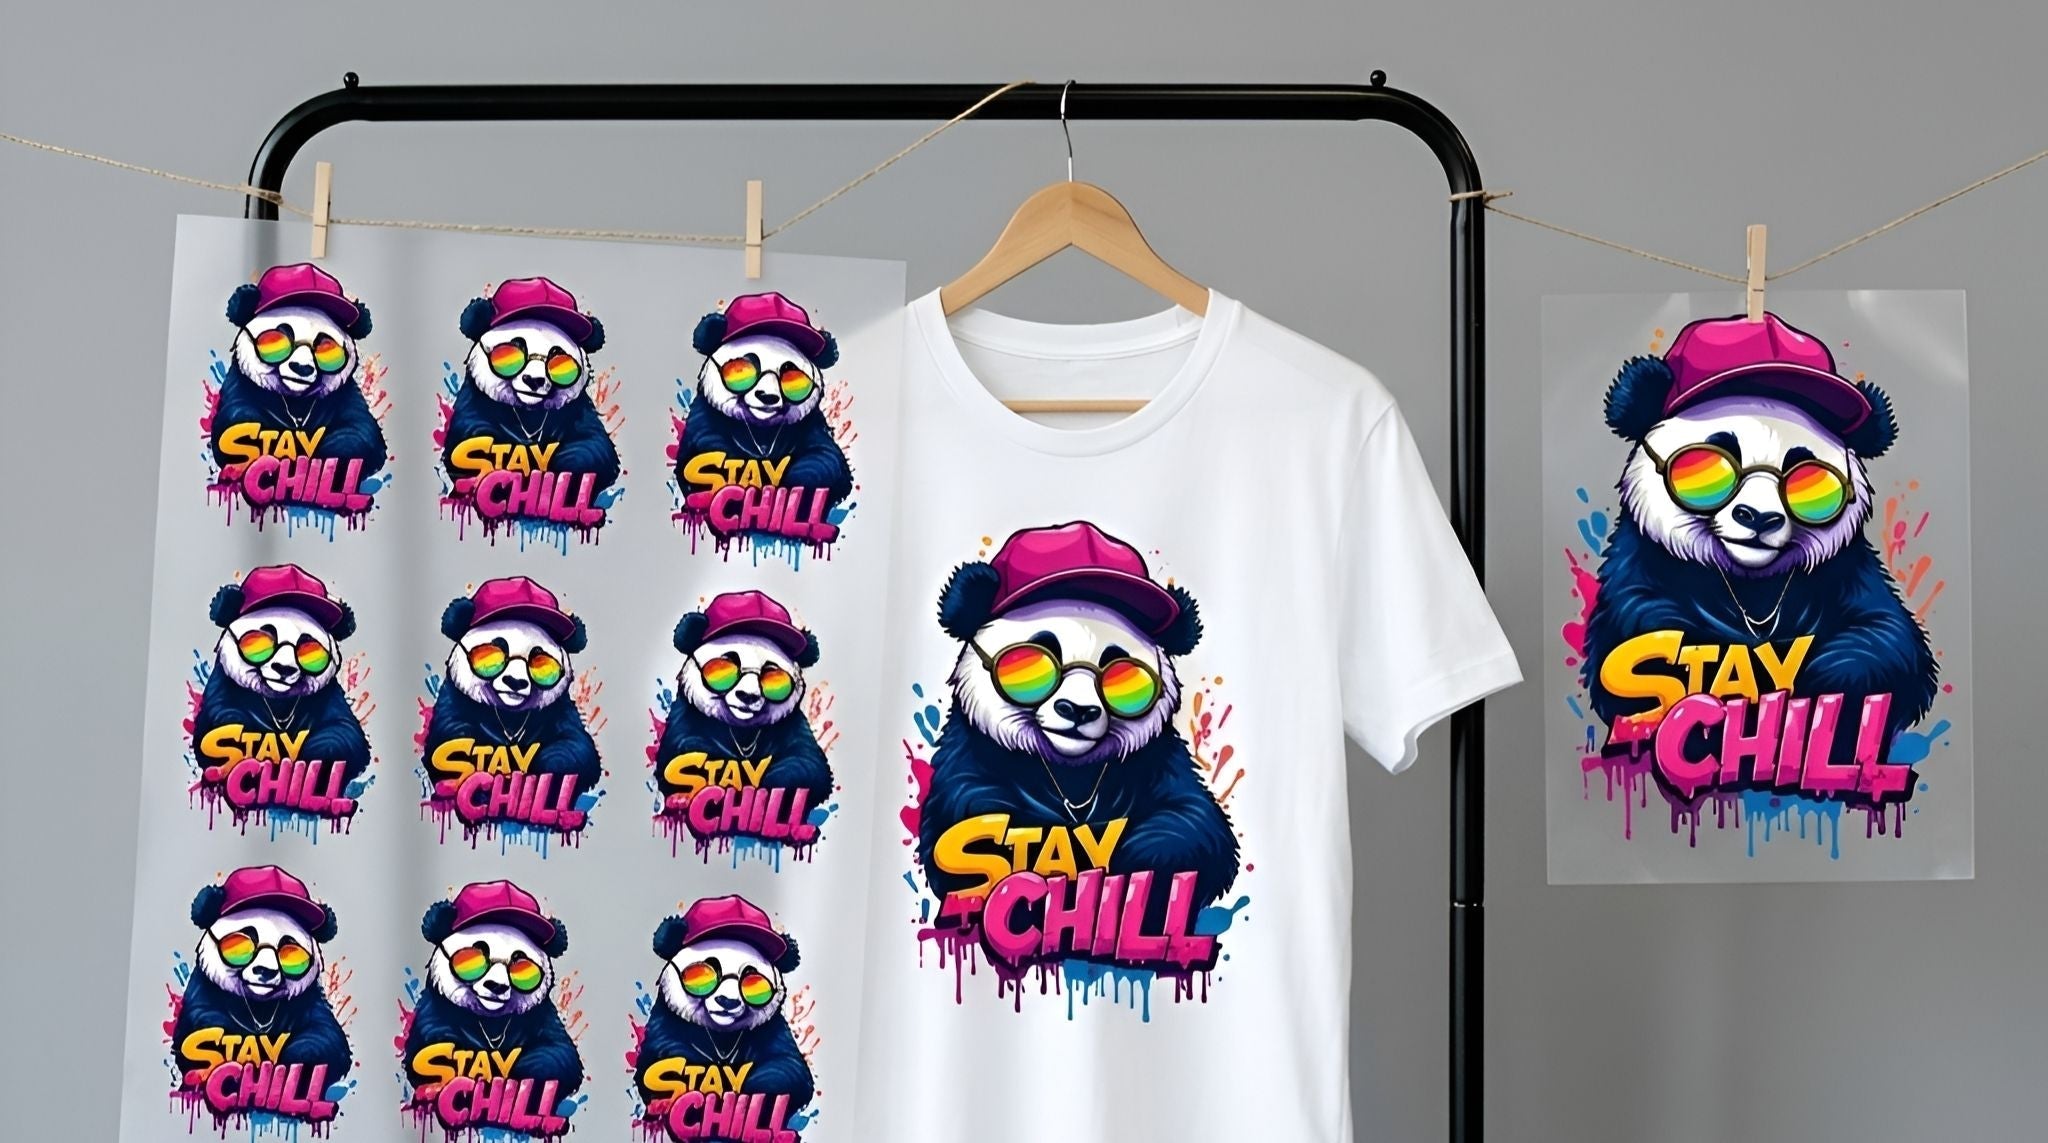
Mistake #6: Gang Sheet Sizing Errors
Gang sheets are efficient, but they amplify mistakes. A single wrong size repeated 20 times across a layout can waste an entire sheet—and your budget.
Common errors include:
- Inconsistent scaling (one logo is 3.5", the next is 3.8").
- Rushed layouts that don't account for cutting space.
- Mixing garments with different sizing needs on one sheet without labeling them.
How to avoid it: Review each design individually inside the layout tool. Confirm final dimensions before committing the sheet. Speed should never replace verification.
Checklist: How to Verify Size Before You Order
Before you hit "Buy," run through this quick checklist:
- Compare the design width to the actual garment width (using a ruler on a real shirt).
- Visualize placement on the specific garment type (T-shirt vs. Hoodie vs. Tank).
- Adjust sizing if you are switching garment types.
- Confirm that your artwork resolution supports the chosen size.
- Double-check every single design on your gang sheet layout.
For first-time buyers or new designs, starting with a test run or a sample pack is often the safest way to confirm sizing before committing to a bulk order.
DTF transfer sizing mistakes are rarely random. They come from predictable habits, rushed decisions, and screen-based assumptions. Once you recognize these patterns, avoiding them becomes part of your workflow instead of a costly lesson learned after the press opens.
Leave a comment
This site is protected by hCaptcha and the hCaptcha Privacy Policy and Terms of Service apply.