
The Complete Temperature Guide
Setting the correct temperature for your DTF transfers can make the difference between a professional-looking product and a complete disaster. Too low, and your transfer won't adhere properly, leading to peeling and poor durability. Too high, and you risk scorching the fabric or degrading the adhesive, resulting in cracked, brittle designs that fail quickly.
Understanding the precise temperature requirements for DTF transfers isn't just about following a recipe - it's about mastering the science behind adhesive activation, fabric compatibility, and heat distribution. This comprehensive guide will equip you with the knowledge to achieve consistent, professional results every time you press a DTF transfer.
Understanding DTF Transfer Temperature Requirements
The Science Behind DTF Adhesion
DTF transfers rely on thermally-activated adhesives that require specific temperature ranges to function properly. The hot-melt adhesive powder used in DTF printing is designed to melt at precise temperatures, creating molecular bonds with fabric fibers.
Adhesive Activation Process:
- Below Activation Temperature: Adhesive remains solid and won't bond with fabric
- Optimal Range: Adhesive melts completely and penetrates fabric fibers
- Excessive Heat: Adhesive breaks down chemically, losing bonding properties
Temperature Window Concept: Every DTF transfer has a "temperature window" - a range where optimal bonding occurs. This window typically spans 15-25°F, giving you some flexibility while maintaining quality results.
Factors Affecting Temperature Requirements
Transfer Film Type: Different DTF films have varying temperature requirements based on their adhesive formulations and backing materials.
Substrate Material: Each fabric type has its own heat tolerance and thermal conductivity, affecting how temperature is absorbed and distributed.
Design Coverage: Large solid areas may require different temperature considerations than fine details or text.
Equipment Characteristics: Heat press calibration, age, and design affect actual temperature delivery to your transfers.
Standard Temperature Guidelines by Fabric Type
Cotton and Cotton Blend Fabrics
Cotton and cotton blends represent the most common substrates for DTF transfers and typically work well with standard temperature settings.
Recommended Settings for Cotton/Cotton Blends:
First Press:
- Temperature: 300-315°F (149-157°C)
- Time: 10-13 seconds
- Pressure: Medium to firm (approximately 40-50 PSI)
- Peel Method: Cool peel (allow complete cooling before removal)
Second Press:
- Temperature: 300-315°F (149-157°C)
- Time: 3-5 seconds
- Pressure: Firm and even
- Purpose: Final curing and bond strengthening
Cotton-Specific Considerations:
- Cotton's natural fiber structure accepts DTF adhesives readily
- Higher heat tolerance allows for more forgiving temperature ranges
- Absorbent nature helps with moisture removal during pre-pressing
- Texture variations may require pressure adjustments for even contact
100% Polyester Fabrics
Polyester requires more careful temperature control due to its synthetic nature and lower heat tolerance.
Recommended Settings for Polyester:
First Press:
- Temperature: 250-275°F (121-135°C)
- Time: 7-10 seconds
- Pressure: Medium (approximately 35-40 PSI)
- Peel Method: Cool peel recommended
Second Press:
- Temperature: 250-275°F (121-135°C)
- Time: 3-5 seconds
- Pressure: Medium to firm
Polyester Challenges:
- Lower melting point requires reduced temperatures
- Synthetic fibers can scorch or melt at high temperatures
- May require longer pressing times at lower temperatures
- Sublimation effects possible with certain polyester types
Specialty Fabric Considerations
Performance Fabrics: Athletic and moisture-wicking fabrics often have special coatings or treatments that affect DTF adhesion.
- Temperature: 275-290°F (135-143°C)
- Time: 8-12 seconds
- Special Notes: Test on small areas first; some treatments may prevent proper adhesion
Dri-FIT and Similar Technologies:
- Often require modified settings due to moisture-wicking treatments
- May need slightly higher temperatures to penetrate surface treatments
- Test thoroughly for wash durability
Stretch Fabrics:
- Consider fabric recovery and stretch characteristics
- May require adjusted pressure to prevent over-compression
- Monitor for design distortion during application
Heat Press Setup and Calibration
Temperature Accuracy and Verification
Why Calibration Matters: Heat press temperature displays are often inaccurate, with variations of 20-50°F being common. This variability can mean the difference between success and failure with DTF transfers.
Verification Methods:
Infrared Thermometer:
- Provides instant, non-contact temperature readings
- Check multiple points across the heat plate surface
- Take readings at operating temperature, not during heating
Temperature Strips:
- Single-use indicators that show maximum temperature reached
- Useful for verifying temperature during actual pressing
- Available in various temperature ranges
Digital Temperature Probes:
- Continuous monitoring during pressing operations
- Can be placed between protective sheets for real-time readings
- Most accurate method for temperature verification
Heat Distribution Testing
Even Heat Distribution Importance: Uneven heating creates hot and cold spots that lead to inconsistent transfer adhesion across the design area.
Testing Methods:
- Temperature Strip Grid: Place strips across the entire plate surface
- Test Transfers: Use identical transfers in different plate positions
- Thermal Imaging: Professional method for detailed heat mapping
- Regular Monitoring: Check distribution monthly or after equipment service
Common Distribution Problems:
- Edge cooling on older heat presses
- Hot spots over heating elements
- Uneven heating due to damaged heating elements
- Pressure variations affecting heat transfer
Equipment Maintenance for Consistent Results
Regular Maintenance Schedule:
Daily Tasks:
- Clean heat plate surfaces to remove adhesive buildup
- Check temperature accuracy with verification tools
- Inspect for visible damage or wear
Weekly Tasks:
- Deep clean heat plates with appropriate solvents
- Check pressure calibration and distribution
- Verify timer accuracy
Monthly Tasks:
- Complete temperature calibration check across entire plate
- Professional inspection of heating elements
- Pressure system maintenance and adjustment
Step-by-Step DTF Pressing Process
Pre-Press Preparation
Garment Preparation:
- Moisture Removal: Pre-press fabric for 3-5 seconds at 300°F to eliminate moisture
- Surface Smoothing: Remove wrinkles and create uniform contact surface
- Inspection: Check for debris, lint, or foreign materials
- Positioning: Ensure garment is properly aligned and flat
Transfer Preparation:
- Quality Check: Inspect transfer for defects or damage
- Positioning: Plan exact placement before heating
- Protective Materials: Prepare Teflon sheets or parchment paper
- Tools Ready: Have weeding tools and removal implements ready
Primary Press Cycle
Setup Phase:
- Set heat press to verified temperature for your fabric type
- Allow equipment to reach stable operating temperature
- Position transfer with design facing down on garment
- Cover with protective sheet to prevent contamination
Pressing Phase:
- Close heat press with firm, even pressure
- Start timer for recommended duration
- Maintain consistent pressure throughout cycle
- Avoid opening or adjusting during press cycle
Critical Considerations:
- Ensure complete contact across entire design area
- Monitor for any shifting or movement during pressing
- Listen for any unusual sounds indicating problems
- Watch for steam or smoke indicating overheating
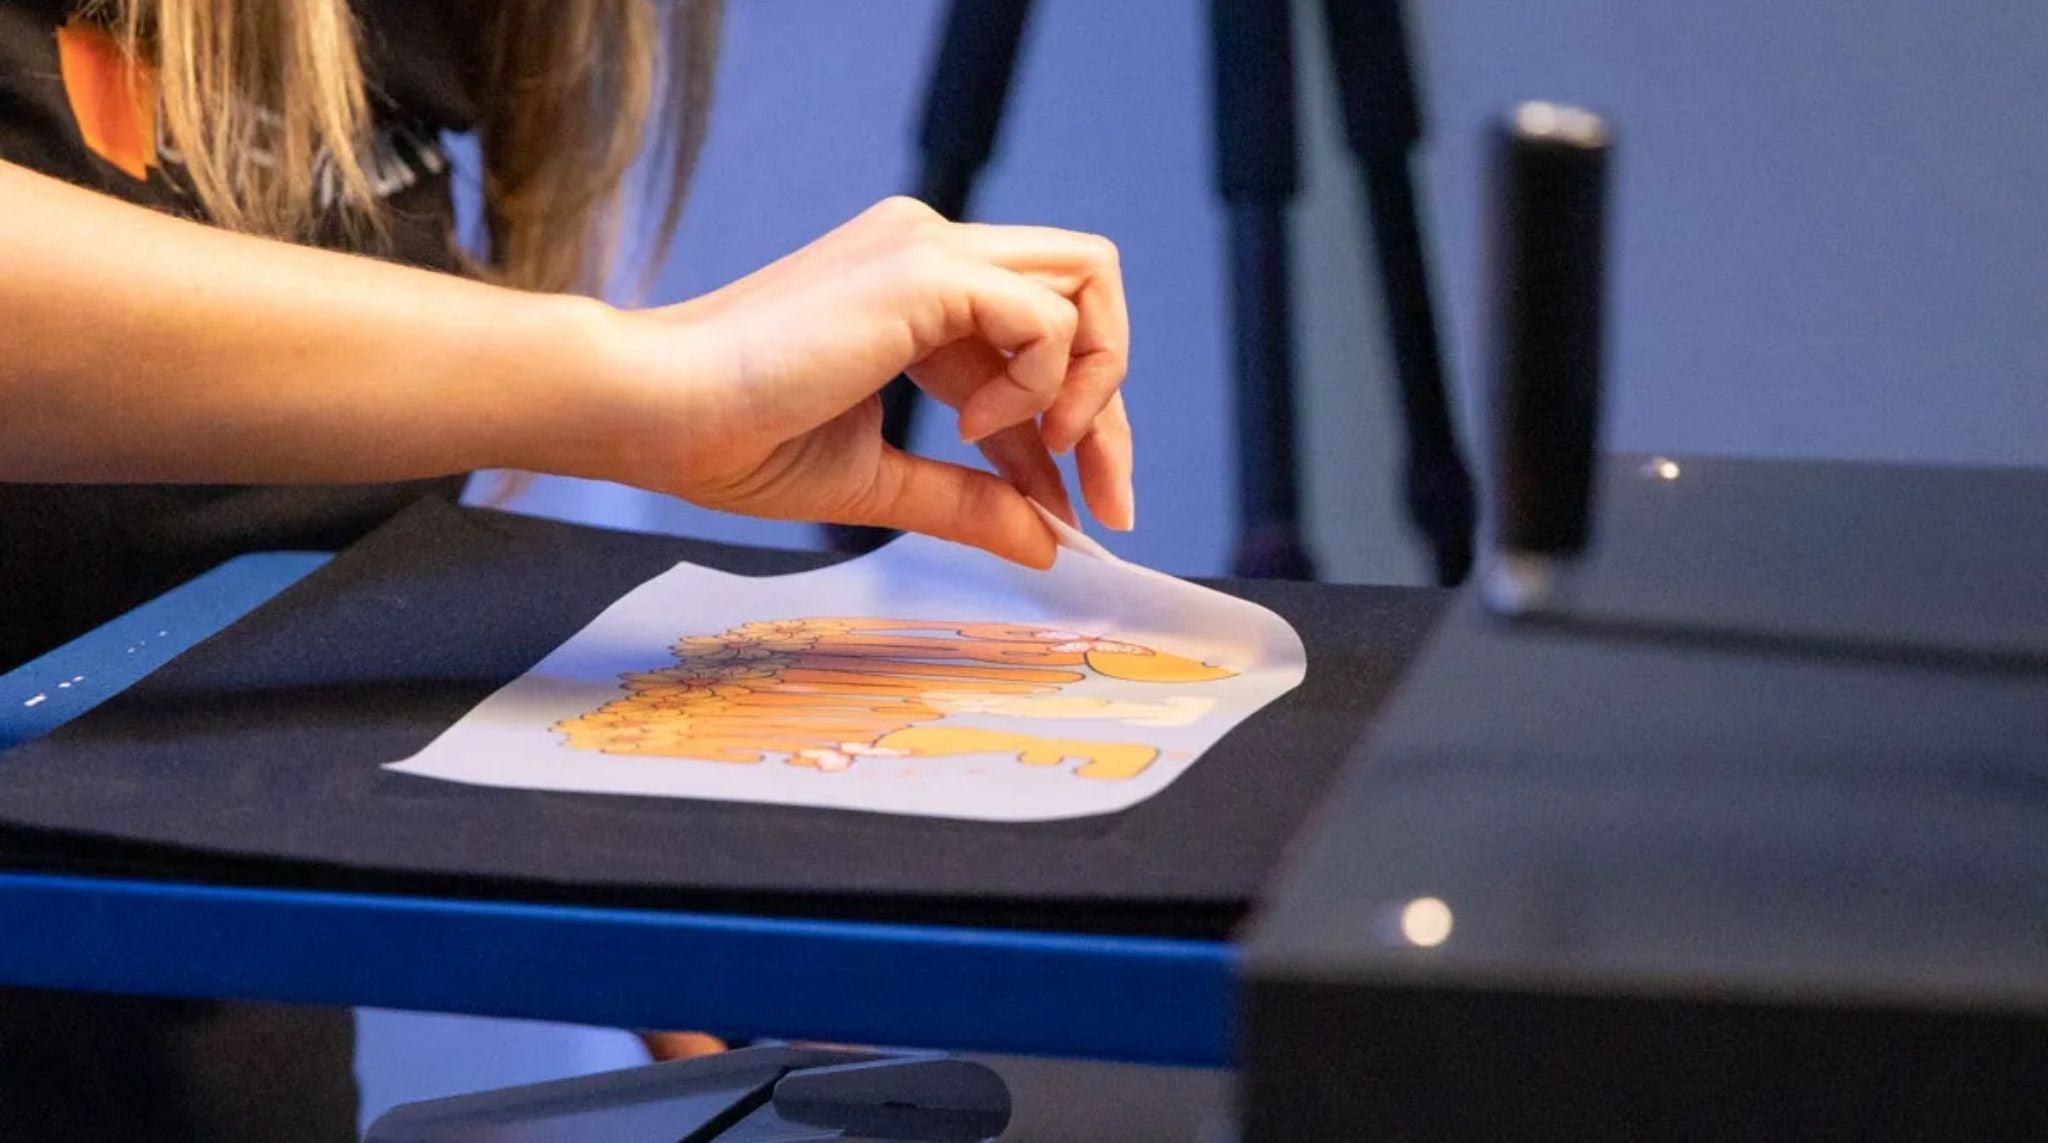
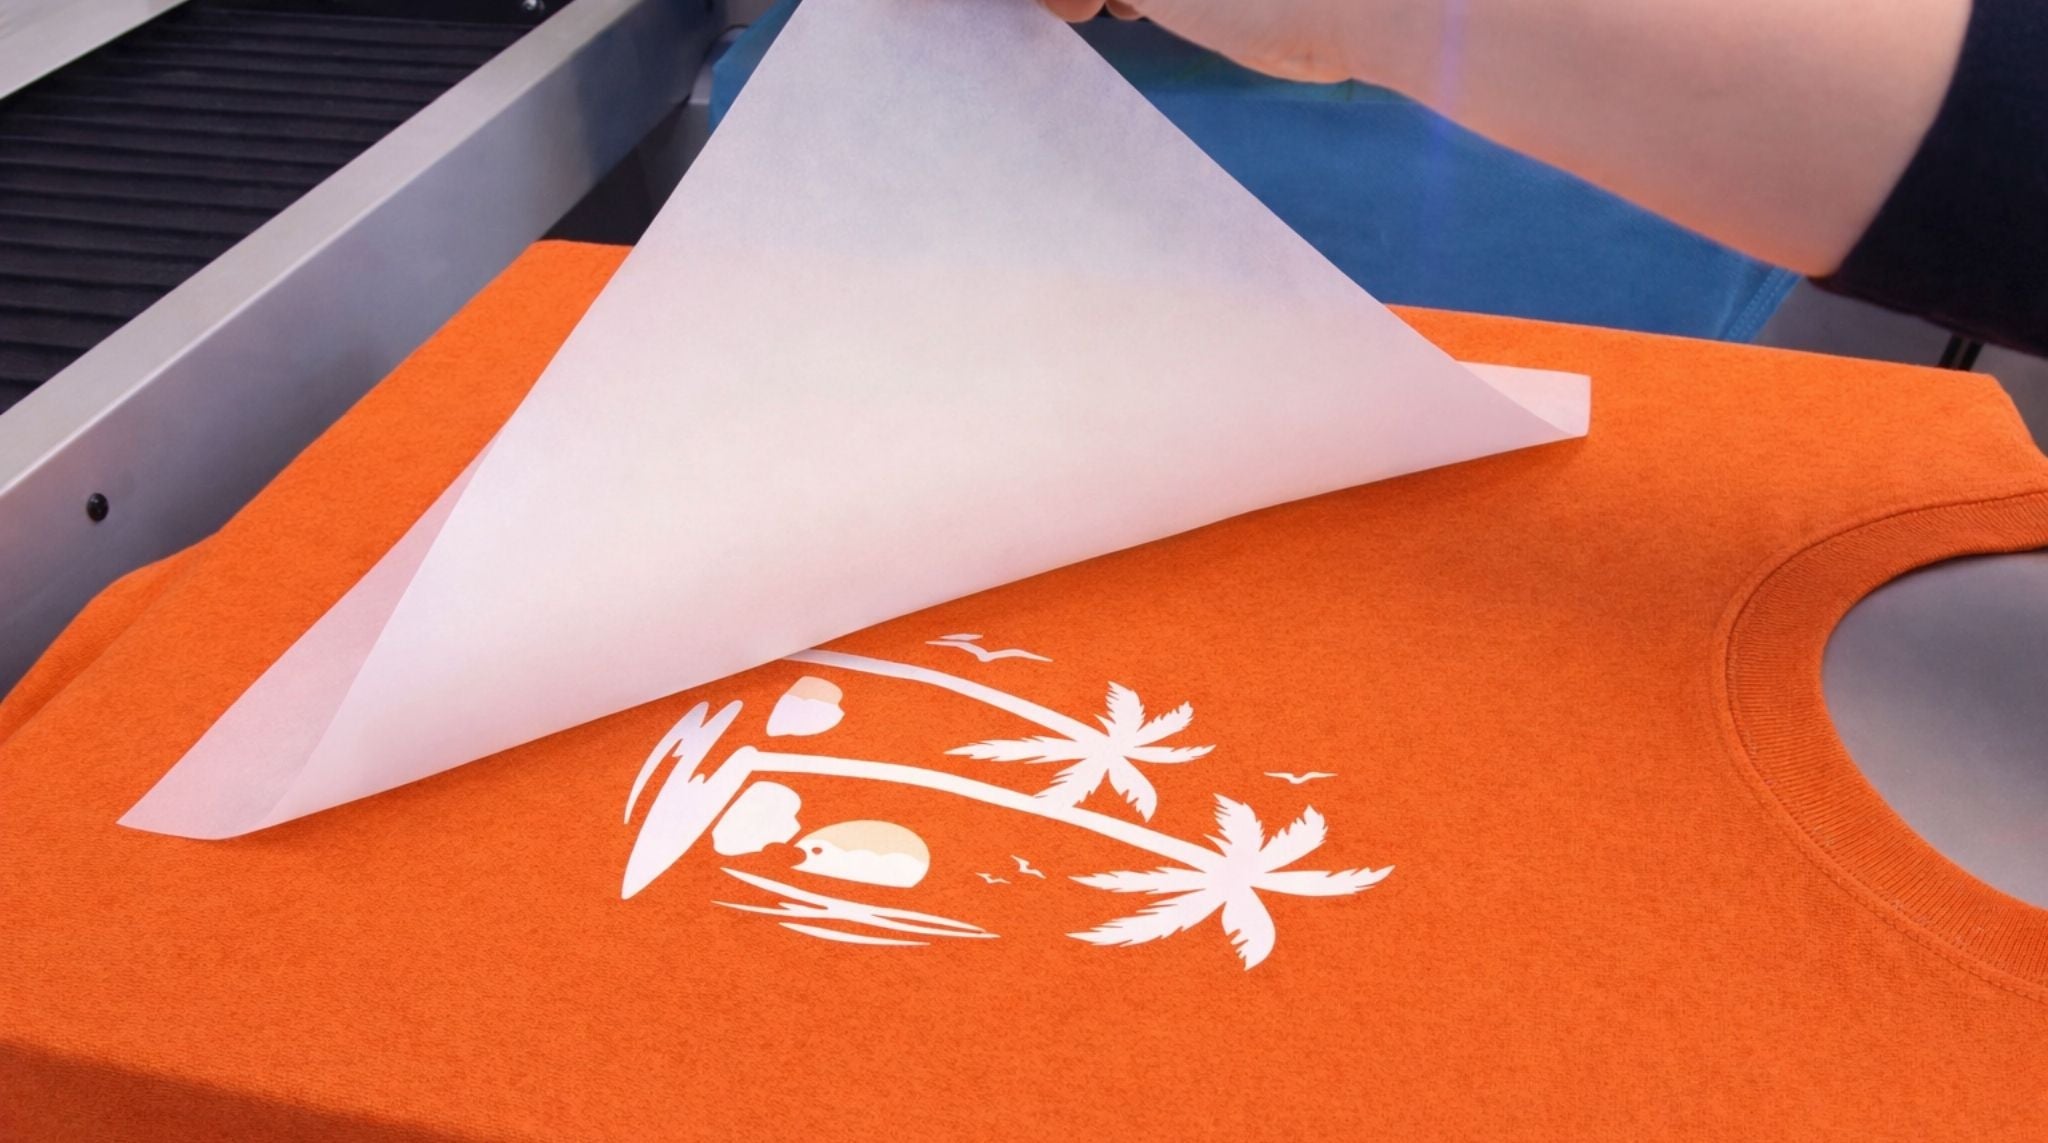
Cooling and Peel Process
Cool Peel Method (Recommended for most DTF transfers):
- Remove substrate from heat press immediately after cycle
- Allow complete cooling to room temperature (typically 30-60 seconds)
- Test film release at corner before full removal
- Peel film slowly and steadily in one continuous motion
- Inspect for complete transfer and any adhesion issues
Hot Peel Method (When specified by manufacturer):
- Remove substrate from heat press
- Immediately begin peeling while substrate is still hot
- Work quickly but carefully to avoid burns
- Complete removal within 10-15 seconds of press completion
Final Press and Curing
Why a Second Press Matters: The final press ensures complete adhesive cure and maximum bond strength with the fabric.
Final Press Procedure:
- Cover transferred design with protective sheet
- Apply heat at same temperature as initial press
- Use firm pressure for 3-5 seconds
- Allow natural cooling without forced cooling methods
Advanced Temperature Techniques
Multi-Color and Complex Designs
Layered Transfer Considerations: When applying multiple transfers or layers, temperature management becomes more complex.
Sequential Application Strategy:
- First layer: Standard temperature and time
- Subsequent layers: Reduce temperature by 10-15°F
- Reduce time by 1-2 seconds for each additional layer
- Monitor total heat exposure to prevent over-processing
Registration and Alignment:
- Use lower tack positioning aids to maintain alignment
- Consider temperature effects on substrate shrinkage
- Plan for thermal expansion during multi-stage processes
Troubleshooting Temperature-Related Issues
Common Temperature Problems and Solutions:
Poor Adhesion:
- Symptom: Transfer doesn't stick or peels easily
- Likely Cause: Temperature too low or insufficient time
- Solution: Increase temperature in 5-10°F increments
Scorching or Burning:
- Symptom: Brown or burnt areas on fabric or transfer
- Likely Cause: Temperature too high or excessive time
- Solution: Reduce temperature and/or time
Uneven Adhesion:
- Symptom: Some areas stick well while others don't
- Likely Cause: Uneven heat distribution or pressure
- Solution: Check heat press calibration and pressure settings
Color Changes:
- Symptom: Colors appear different after pressing
- Likely Cause: Temperature affecting ink chemistry
- Solution: Verify temperature accuracy and consider film compatibility
Quality Control and Testing Procedures
Systematic Testing Approach
Test Sample Procedure:
- Use identical transfers on same fabric type
- Test different temperature settings in 5°F increments
- Document results including adhesion quality and appearance
- Perform wash tests on successful samples
- Establish standard operating procedures based on results
Documentation and Record Keeping:
- Maintain detailed logs of successful temperature settings
- Record fabric types and their optimal temperatures
- Track equipment performance and calibration dates
- Note seasonal or environmental variations affecting results
Wash Testing and Durability
Post-Application Testing: Proper temperature selection should result in transfers that maintain their appearance and adhesion through multiple wash cycles.
Testing Protocol:
- Allow 24-hour cure time before first wash
- Wash in cold water with mild detergent
- Air dry or low-heat tumble dry
- Inspect for adhesion loss, color change, or cracking
- Repeat for multiple cycles to verify durability
Quality Benchmarks:
- No visible adhesion loss after 10 wash cycles
- Minimal color fading or shift
- No cracking or brittleness in normal wear areas
- Maintained flexibility and fabric hand
Troubleshooting Common Temperature Issues
Equipment-Related Problems
Heat Press Age and Performance: Older heat presses may struggle to maintain accurate temperatures or even heat distribution.
Signs of Equipment Issues:
- Inconsistent results with same settings
- Visible hot or cold spots on pressed items
- Unable to reach or maintain set temperatures
- Pressure variations across the plate surface
Solutions and Upgrades:
- Professional calibration and maintenance
- Heating element replacement when necessary
- Upgrade to newer equipment with better temperature control
- Regular performance monitoring and documentation
Environmental Factors
Ambient Conditions: Room temperature, humidity, and air circulation affect DTF transfer performance.
Environmental Controls:
- Maintain consistent work environment temperature
- Control humidity levels (ideal: 40-60% relative humidity)
- Ensure adequate ventilation for heat dissipation
- Account for seasonal variations in temperature and humidity
Material Compatibility Issues
Transfer and Substrate Matching: Not all DTF transfers work equally well on all fabrics at the same temperatures.
Compatibility Testing:
- Test new transfer materials on representative substrates
- Document optimal settings for each material combination
- Maintain sample library of successful applications
- Regular testing when changing suppliers or materials
Business Applications and Production Considerations
Production Efficiency and Temperature Management
Batch Processing Strategies: When processing multiple items, temperature consistency becomes crucial for uniform results.
Efficient Workflow Planning:
- Group items by fabric type and temperature requirements
- Allow adequate heat-up time between temperature changes
- Plan production sequence to minimize temperature adjustments
- Use multiple heat presses for different temperature requirements
Quality Control in Production:
- Regular temperature verification throughout production runs
- Periodic test transfers to verify consistent results
- Documentation of any temperature adjustments or equipment issues
- Final quality inspection before packaging or delivery
Cost Considerations
Energy Efficiency: Proper temperature management reduces energy costs and equipment wear.
Waste Reduction: Correct temperature settings reduce failed transfers and material waste.
Equipment Longevity: Operating at optimal temperatures extends heat press life and reduces maintenance costs.
Customer Satisfaction and Guarantees
Professional Standards: Consistent temperature control enables quality guarantees and customer satisfaction.
Warranty Considerations: Proper processing enables warranty offerings on transfer durability and appearance.
Reputation Building: Consistent, high-quality results from proper temperature management build customer trust and repeat business.
Your Path to DTF Temperature Mastery
Mastering DTF transfer temperatures requires understanding the science behind adhesive activation, careful attention to equipment calibration, and systematic testing to optimize results for your specific materials and applications.
Key Success Principles:
Precision Over Guesswork: Use accurate temperature measurement and verification tools rather than relying on heat press displays.
Systematic Approach: Test and document optimal settings for each fabric type and transfer combination you use.
Consistent Monitoring: Regular equipment maintenance and calibration ensure repeatable results.
Quality Focus: Proper temperature control is an investment in customer satisfaction and business reputation.
Building Long-Term Success
The investment in mastering DTF temperatures pays dividends in reduced waste, increased customer satisfaction, and the ability to guarantee your work. When you can consistently produce transfers that look great and last through multiple wash cycles, customers notice the difference.
Professional Development:
- Stay current with new DTF materials and their temperature requirements
- Participate in industry training and certification programs
- Network with other professionals to share knowledge and best practices
- Invest in quality equipment that provides accurate temperature control
Business Growth:
- Document your processes to enable consistent results from multiple operators
- Use temperature mastery as a competitive advantage in your market
- Develop specialized services for challenging substrates or applications
- Build reputation for technical expertise and quality results
Remember that temperature control is just one element of successful DTF transfer application. Pressure, timing, environmental conditions, and material quality all work together to create the final result. However, getting temperature right is often the foundation upon which all other success factors build.
Ready to achieve perfect temperature control for your DTF transfers? Florida DTF Factory provides high-quality transfer materials with detailed application guidelines, helping you achieve consistent, professional results. Our materials are engineered to work reliably within specified temperature ranges, giving you the confidence to guarantee your work.
Frequently Asked Questions
What temperature should DTF transfers be pressed at? The standard temperature range is 300-315°F for cotton and cotton blends, and 250-275°F for 100% polyester. Always verify your heat press temperature with an infrared thermometer for accuracy.
How long should I press DTF transfers? Press for 10-13 seconds on the first application, then do a final press for 3-5 seconds after cooling and peeling. Adjust timing based on fabric type and transfer specifications.
What's the best heat press setting for DTF transfers? Use 300-315°F with medium to firm pressure for 10-13 seconds on cotton blends. Ensure even pressure distribution and use protective sheets to prevent contamination.
How do I heat press a DTF transfer properly? Pre-press the garment, position the transfer design-side down, press at correct temperature and time, allow cooling for cool peel, then do a final press to cure the adhesive.
Can I use different temperatures for different fabrics? Yes, polyester requires lower temperatures (250-275°F) than cotton (300-315°F) to prevent scorching. Always test on sample materials first to verify optimal settings.
Why is my DTF transfer not sticking properly? Common causes include insufficient temperature, inadequate pressure, moisture in the fabric, or equipment calibration issues. Verify your temperature accuracy and ensure proper pre-pressing.
What happens if I press DTF transfers at too high temperature? Excessive heat can scorch fabric, break down adhesive chemistry, cause color shifts, or create brittle transfers that crack easily. Always stay within recommended temperature ranges.
Do I need different settings for large vs. small designs? Large solid areas may require slightly longer pressing times for complete heat penetration, while fine details need careful temperature control to prevent scorching. Test both types on your specific equipment.
Leave a comment
This site is protected by hCaptcha and the hCaptcha Privacy Policy and Terms of Service apply.