
Complete Troubleshooting Guide
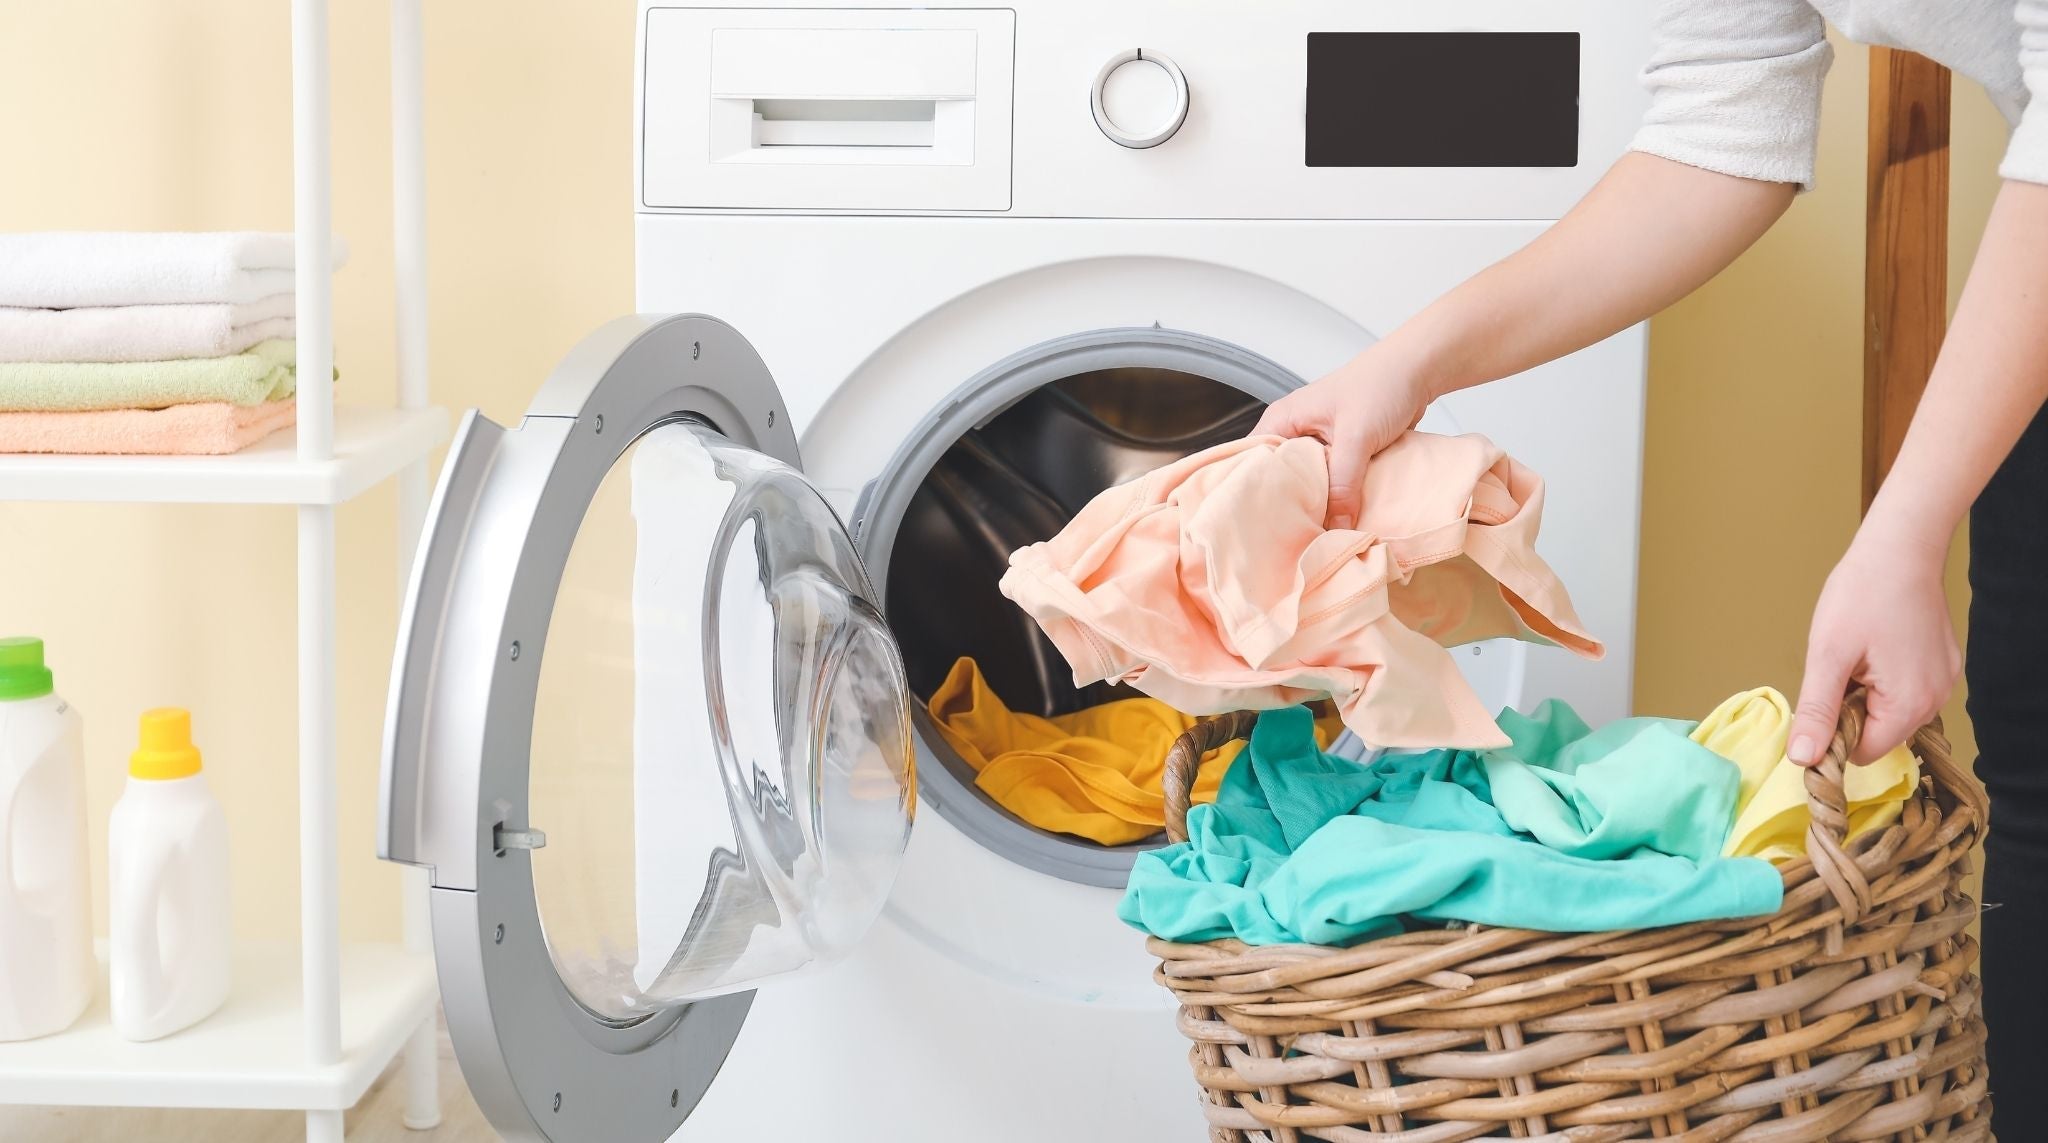
Nothing is more frustrating than investing time, materials, and effort into creating the perfect DTF transfer, only to have it fail during application or peel off after the first wash. DTF printing offers incredible versatility and vibrant results when everything works correctly, but adhesion issues can turn an exciting project into a costly headache.
Whether you're just starting with DTF transfers or you're an experienced operator facing unexpected problems, understanding why transfers fail to stick properly is crucial for consistent, professional results. This comprehensive guide will walk you through every potential cause of adhesion failure and provide practical solutions to ensure your DTF transfers bond permanently with fabric every time.
Understanding DTF Transfer Adhesion
How DTF Transfers Create Permanent Bonds
DTF transfers work through a sophisticated process that combines specialized inks, adhesive powders, and heat activation to create durable bonds with fabric fibers. Understanding this process helps identify where things can go wrong.
The Adhesion Process:
- DTF ink provides the visual design and color
- Hot-melt adhesive powder creates the bonding agent
- Heat activation melts the adhesive, allowing it to penetrate fabric fibers
- Cooling allows the adhesive to cure and form permanent bonds
- Proper pressure ensures complete contact and penetration
Critical Success Factors:
- Temperature Precision: Adhesive activation requires specific heat levels
- Time Control: Adequate heat exposure for complete bonding
- Pressure Distribution: Even contact across the entire design area
- Surface Preparation: Clean, dry, properly prepared substrates
- Material Quality: High-grade adhesives and compatible fabrics
Common Adhesion Failure Patterns
Immediate Failure: Transfer doesn't stick during initial application Partial Adhesion: Some areas stick while others don't Edge Lifting: Corners and edges peel up first Complete Delamination: Entire transfer separates from fabric Wash Failure: Transfer appears successful but fails after laundering
Each failure pattern points to specific causes that require targeted solutions.
Temperature Issues: The #1 Cause of Adhesion Problems
Incorrect Heat Press Temperature
Temperature Too Low: When heat press temperature falls below the adhesive activation point, the powder doesn't fully melt and cannot create proper bonds with fabric fibers.
Symptoms:
- Transfer doesn't adhere during application
- Easy removal of transfer film with minimal resistance
- Visible adhesive powder residue on fabric
- Patchy or incomplete transfer appearance
Solutions:
- Verify heat press calibration with an infrared thermometer
- Increase temperature in 5-10°F increments until proper adhesion occurs
- Allow additional time for heat press to reach stable temperature
- Check manufacturer specifications for your specific transfer type
Temperature Too High: Excessive heat can break down adhesive chemistry, causing brittleness and poor bonding.
Symptoms:
- Burnt or discolored appearance on fabric or transfer
- Brittle, hard feel to transferred design
- Immediate cracking or splitting during application
- Yellowing or browning around transfer edges
Solutions:
- Reduce temperature in small increments
- Use protective sheets to distribute heat more evenly
- Decrease pressing time to compensate for higher heat
- Consider whether your fabric can handle DTF temperature requirements
Heat Distribution Problems
Uneven Heating: Heat presses with poor temperature distribution create hot and cold spots that lead to inconsistent adhesion across the design area.
Identifying Distribution Issues:
- Use temperature strips or infrared imaging to map heat distribution
- Check for consistent adhesion across entire transfer area
- Look for patterns in failed transfers that correspond to press plate areas
- Test different areas of the press plate with identical transfers
Solutions for Even Heat Distribution:
- Perform regular heat press calibration and maintenance
- Replace worn or damaged heating elements
- Use Teflon or silicone sheets to improve heat distribution
- Consider upgrading to higher-quality heat press equipment
Temperature Measurement and Calibration
Accurate Temperature Monitoring: Many adhesion problems stem from inaccurate temperature readings from heat press displays.
Verification Methods:
- Infrared Thermometer: Provides instant, accurate surface temperature readings
- Temperature Strips: Single-use indicators that show maximum temperature reached
- Thermal Imaging: Professional method for mapping heat distribution patterns
- Digital Probes: Continuous monitoring during pressing operations
Calibration Frequency:
- Check temperature accuracy monthly for regular use
- Verify calibration after any equipment repairs or adjustments
- Monitor temperature consistency across different areas of the press plate
- Document temperature readings to track equipment performance over time
Pressure Problems: Getting the Contact Right
Insufficient Pressure Issues
Understanding Pressure Requirements: DTF transfers require firm, even pressure to ensure complete contact between adhesive and fabric fibers. Insufficient pressure leaves gaps that prevent proper bonding.
Signs of Low Pressure:
- Inconsistent transfer adhesion with some areas not sticking
- Air bubbles or gaps visible under transferred design
- Easy removal of transfer with minimal force
- Better adhesion in center areas compared to edges
Pressure Adjustment Solutions:
- Increase pressure gradually while testing on sample materials
- Ensure pressure adjustment mechanism is properly calibrated
- Check for worn or compressed padding that reduces effective pressure
- Verify that pressure is evenly distributed across the entire plate area
Excessive Pressure Problems
When Too Much Pressure Hurts: While adequate pressure is essential, excessive pressure can actually interfere with proper adhesion by squeezing adhesive away from contact areas.
Symptoms of Excessive Pressure:
- Adhesive squeezed out from edges of design
- Fabric texture impressed into transfer surface
- Difficulty removing transfer film due to over-compression
- Distorted or stretched transfer design
Pressure Optimization:
- Start with medium pressure and adjust based on results
- Test pressure settings on sample materials before production runs
- Consider fabric thickness and texture when setting pressure
- Document optimal pressure settings for different material combinations
Pressure Distribution and Equipment Factors
Even Pressure Distribution: Uneven pressure across the press plate creates areas of poor adhesion even when average pressure is correct.
Common Distribution Problems:
- Worn or uneven press plate surfaces
- Damaged or compressed padding materials
- Misaligned upper and lower press plates
- Debris or buildup on press surfaces
Maintenance for Better Pressure:
- Regular cleaning and inspection of press plate surfaces
- Replacement of worn padding materials
- Professional calibration of press alignment
- Use of pressure-sensitive paper to identify distribution problems
Timing and Process Issues
Peel Temperature and Timing
Hot Peel vs. Cool Peel: Most DTF transfers require cool peeling, meaning the transfer film should be removed only after the substrate has cooled completely. Incorrect peel timing is a major cause of adhesion failure.
Cool Peel Process:
- Complete heat press cycle according to specifications
- Remove substrate from press and allow complete cooling
- Test film removal on small corner area
- Remove film smoothly and steadily when properly cooled
- Apply second press cycle if recommended by manufacturer
Hot Peel Considerations: Some specialized DTF transfers are designed for hot peel removal, but this is less common.
- Film removes immediately after pressing while substrate is still hot
- Requires careful timing to avoid burns or adhesion problems
- Usually specified clearly by transfer manufacturer
- Often used for specific substrate types or adhesive formulations
Processing Time Variables
Adequate Press Time: Insufficient pressing time doesn't allow complete adhesive activation, while excessive time can degrade adhesive performance.
Time Optimization Factors:
- Transfer film thickness affects heat penetration time
- Substrate material influences heat absorption rates
- Design coverage area impacts total heat requirements
- Ambient conditions affect cooling and processing times
Testing Time Requirements:
- Start with manufacturer recommendations
- Test different time settings on sample materials
- Evaluate adhesion quality at various time intervals
- Document optimal timing for specific material combinations
Material Quality and Compatibility Issues
Substrate Preparation and Selection
Fabric Compatibility: Not all fabrics work equally well with DTF transfers. Understanding substrate requirements prevents many adhesion problems.
Optimal Fabric Types:
- 100% Cotton: Excellent adhesion, natural fiber bonding
- Cotton/Polyester Blends: Good performance with proper temperature adjustment
- 100% Polyester: Requires specific temperature and time adjustments
- Performance Fabrics: May need specialized transfer types
Problematic Substrates:
- Heavy texture fabrics that prevent complete contact
- Coated or treated fabrics that resist adhesive bonding
- Stretch fabrics that may stress adhesive bonds
- Previously printed areas that interfere with new transfers
Surface Preparation Requirements
Pre-Press Procedures: Proper substrate preparation is essential for consistent adhesion results.
Essential Preparation Steps:
- Moisture Removal: Pre-press substrate for 5-10 seconds to eliminate moisture
- Surface Smoothing: Remove wrinkles and create flat contact surface
- Debris Cleaning: Ensure no lint, dust, or foreign materials on substrate
- Temperature Conditioning: Allow substrate to reach room temperature before application
Environmental Considerations:
- Work in low-humidity environment when possible
- Store substrates in dry conditions before use
- Allow substrates to acclimate to work environment temperature
- Avoid processing immediately after removing substrates from cold storage
Transfer Film and Adhesive Quality
Quality Indicators: High-quality DTF materials produce more consistent results and fewer adhesion problems.
Transfer Film Quality Signs:
- Even, smooth film surface without wrinkles or defects
- Consistent thickness across entire film area
- Proper flexibility without brittleness or excessive stretch
- Clear, vibrant print quality without streaking or gaps
Adhesive Powder Quality:
- Even particle size distribution
- Proper melting characteristics at specified temperatures
- Good coverage without excessive thickness
- Consistent performance across different batches
Storage and Handling:
- Store transfer materials in cool, dry conditions
- Protect from direct sunlight and temperature extremes
- Use first-in, first-out rotation for inventory management
- Handle transfers carefully to avoid damage or contamination
Environmental Factors Affecting Adhesion
Humidity and Moisture Control
Moisture's Impact on DTF Adhesion: Excess moisture interferes with adhesive activation and can prevent proper bonding between transfer and substrate.
Humidity Problems:
- Water molecules compete with adhesive for bonding sites
- High humidity can cause adhesive powder clumping
- Moisture in substrates creates steam that interferes with bonding
- Condensation on equipment affects temperature consistency
Humidity Control Solutions:
- Maintain work environment humidity below 50% when possible
- Use dehumidifiers in high-humidity climates
- Store materials with desiccant packs
- Allow materials to acclimate to work environment before use
Temperature Stability
Ambient Temperature Effects: Room temperature affects both equipment performance and material behavior.
Temperature Control Considerations:
- Maintain consistent work environment temperature
- Allow equipment to stabilize at operating temperature
- Consider thermal expansion effects on press calibration
- Account for seasonal temperature variations in workspace
Advanced Troubleshooting Techniques
Systematic Problem Isolation
Step-by-Step Diagnosis: When facing adhesion problems, systematic testing helps identify root causes.
Isolation Testing Process:
- Test Known Good Materials: Use fresh, high-quality materials to eliminate material variables
- Single Variable Changes: Adjust only one parameter at a time
- Document Results: Keep detailed records of settings and outcomes
- Repeat Successful Results: Verify that solutions work consistently
Quality Control Testing
Test Transfer Procedures: Regular testing helps identify problems before they affect production.
Testing Protocols:
- Daily equipment calibration checks
- Sample transfers on representative materials
- Wash testing for durability verification
- Documentation of optimal settings for different applications
Performance Monitoring:
- Track adhesion failure rates over time
- Identify patterns in problem occurrence
- Monitor equipment performance trends
- Adjust procedures based on failure analysis
Preventive Measures for Consistent Results
Equipment Maintenance
Regular Maintenance Schedule: Consistent equipment maintenance prevents many adhesion problems.
Key Maintenance Tasks:
- Clean press plates regularly to remove adhesive buildup
- Check temperature calibration monthly
- Inspect and replace worn padding materials
- Verify pressure distribution across plate surface
Performance Documentation:
- Log equipment settings for successful runs
- Track maintenance dates and procedures
- Monitor equipment performance trends
- Schedule preventive maintenance based on usage patterns
Process Standardization
Consistent Procedures: Standardized processes reduce variability and improve success rates.
Standard Operating Procedures:
- Document optimal settings for different material combinations
- Create step-by-step process guides for operators
- Establish quality control checkpoints
- Train staff on proper procedures and troubleshooting
Material Management
Inventory Control: Proper material management ensures consistent quality and performance.
Storage Best Practices:
- Climate-controlled storage for all DTF materials
- First-in, first-out rotation to ensure freshness
- Protective packaging to prevent contamination
- Regular quality checks on stored materials
When to Seek Professional Help
Persistent Problems
Signs Professional Assistance May Be Needed:
- Consistent adhesion failures despite following best practices
- Equipment that doesn't maintain consistent temperature or pressure
- Material compatibility issues that resist standard solutions
- Production quality requirements that exceed current capabilities
Professional Resources:
- Equipment manufacturer technical support
- DTF material supplier application assistance
- Professional equipment calibration services
- Industry consultants specializing in heat transfer applications
Equipment Evaluation
Upgrade Considerations: Sometimes adhesion problems indicate that equipment has reached its performance limits.
Evaluation Criteria:
- Consistency of temperature and pressure control
- Ability to handle required production volumes
- Compatibility with desired material types
- Overall reliability and maintenance requirements
Your Path to DTF Success
Successful DTF transfer adhesion requires attention to detail at every step of the process. From proper equipment setup and calibration to material selection and environmental control, each factor contributes to the final result.
Key Success Principles:
Systematic Approach: Address adhesion problems methodically, testing one variable at a time to identify root causes.
Quality Materials: Invest in high-quality transfers, substrates, and equipment that provide consistent performance.
Process Control: Develop and follow standardized procedures that eliminate variability and ensure repeatable results.
Continuous Improvement: Monitor results, document successful practices, and refine procedures based on experience.
Professional Standards: Maintain equipment properly and seek expert assistance when problems persist.
Building Long-Term Success
The investment in proper DTF techniques and equipment pays dividends in customer satisfaction, reduced waste, and profitable operations. When transfers stick properly and perform well through multiple wash cycles, customers notice the difference and return for more.
Business Benefits of Proper Adhesion:
- Reduced customer complaints and returns
- Higher customer satisfaction and repeat business
- Less material waste from failed transfers
- Ability to offer guarantees and premium pricing
- Professional reputation for quality work
Remember that mastering DTF adhesion is an ongoing process. Each new substrate type, design complexity, or environmental condition may require slight adjustments to your proven procedures. The key is maintaining a systematic approach and documenting what works for future reference.
Ready to solve your DTF adhesion challenges once and for all? Florida DTF Factory provides high-quality transfer materials specifically engineered for reliable adhesion when applied correctly. Our transfers are designed to work consistently with proper application techniques, helping you achieve professional results every time.
Frequently Asked Questions
Why isn't my DTF transfer sticking to my shirt? The most common causes are incorrect temperature, insufficient pressure, moisture in the fabric, or uneven adhesive powder application. Check your heat press calibration and ensure you're pre-pressing garments to remove moisture.
How can I make DTF transfers stick better? Ensure proper temperature (typically 300-320°F), apply firm even pressure, cure adhesive powder completely, and use cool peel timing. Pre-press garments and store materials in dry conditions for best results.
Can you overheat DTF transfers? Yes, excessive heat can break down adhesive chemistry, causing poor bonding, brittleness, or burning. Always follow manufacturer temperature recommendations and use accurate temperature measurement.
Why are my DTF transfers peeling off? Peeling usually results from undercured adhesive, incorrect peel timing, insufficient pressure, or low-quality materials. Verify your process settings and material quality.
Why won't my DTF transfer stick to certain fabrics? Some fabrics resist DTF adhesion due to treatments, heavy texture, or synthetic content. Use compatible fabrics like 100% cotton or cotton blends, and ensure surfaces are clean and dry.
How should I properly pre-heat my substrate? Pre-press fabric at 300-315°F for 5-10 seconds to remove moisture and smooth the surface. This creates optimal conditions for transfer adhesion.
What if high-quality materials still don't stick properly? Recheck heat press calibration, adhesive powder curing, and environmental conditions. Even premium materials fail with incorrect settings or excessive humidity.
Can environmental factors affect DTF transfer adhesion? Yes, high humidity and temperature fluctuations can cause moisture buildup and inconsistent results. Work in climate-controlled conditions when possible and store materials properly.
Leave a comment
This site is protected by hCaptcha and the hCaptcha Privacy Policy and Terms of Service apply.